Role
Fabricator
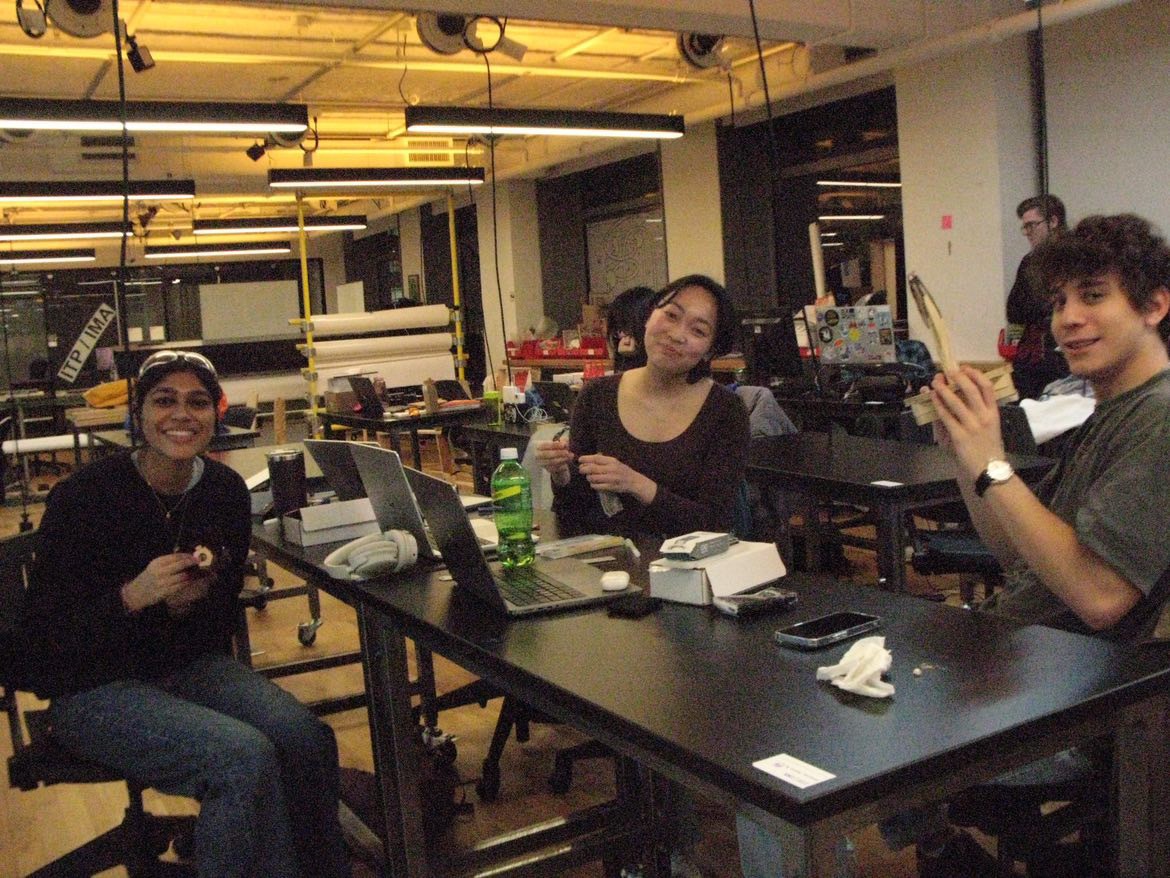
Team
Shiva Kansagara
Delaney Wong
Dan Klin
Timeline
Feb 2024
Skills
Interaction Design
Physical Computing
Problem Solving
Fabrication
Digital Fabrication
Tools
Arduino
TinkerCAD
Adobe Illustrator
Helix Mini Laser Cutter
Soldering Iron
Project Overview
Create a device that controls a light, with anything but a button. The light should have two functions minimum: (1) turn the device on and off and (2) increase and decrease the brightness of the light.
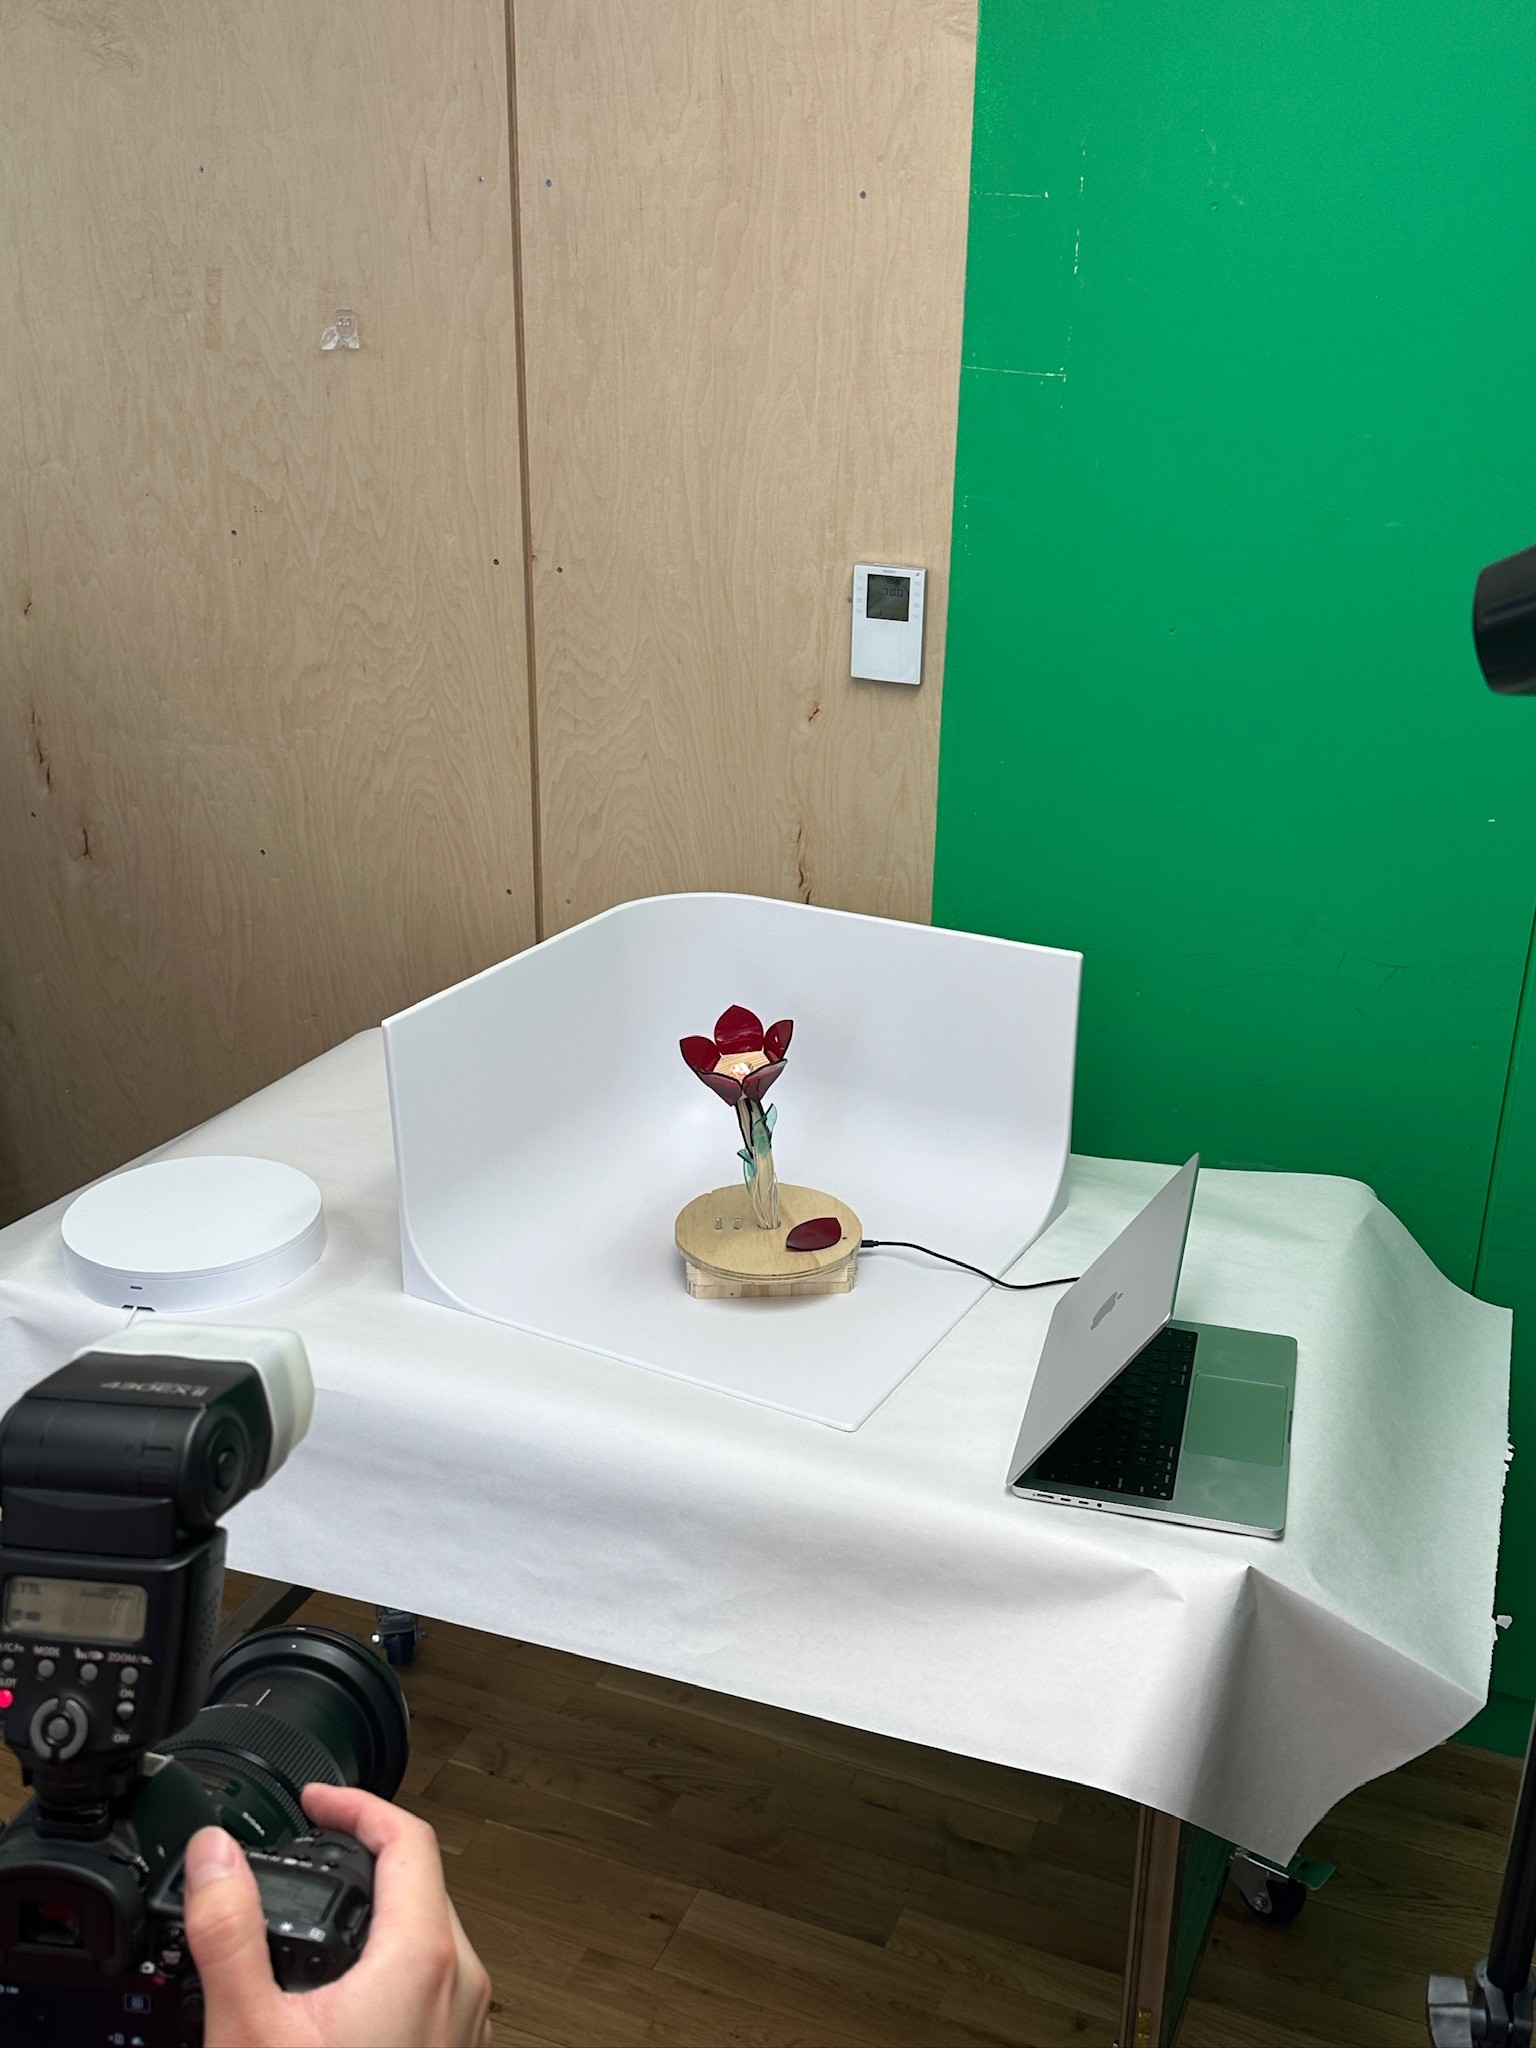
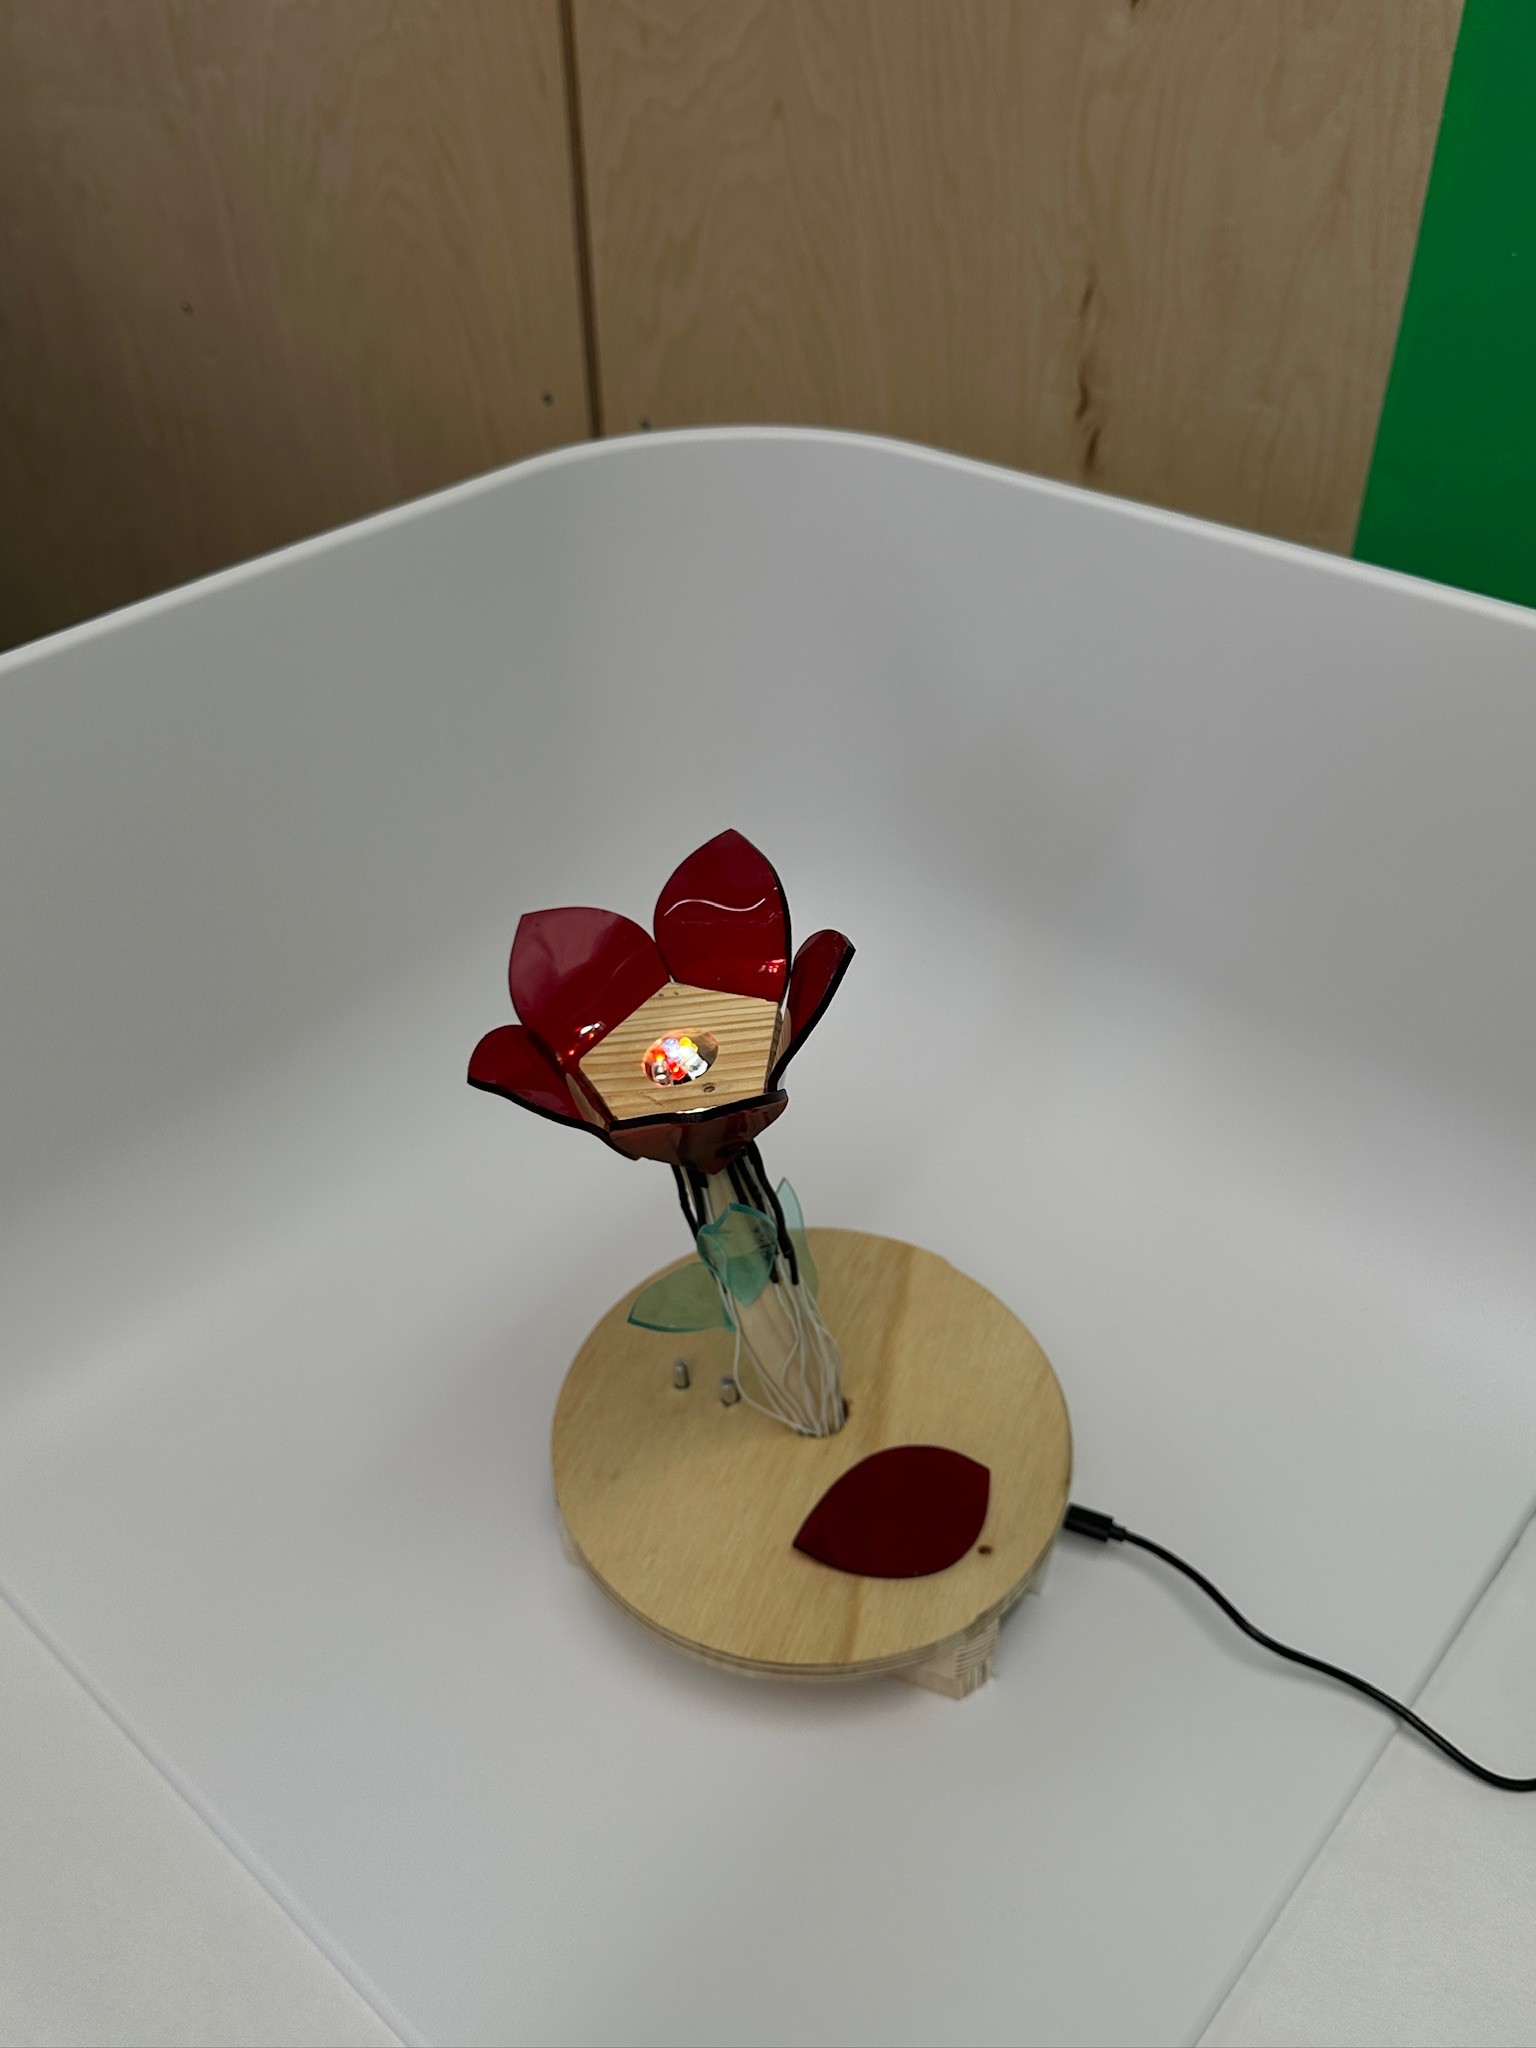
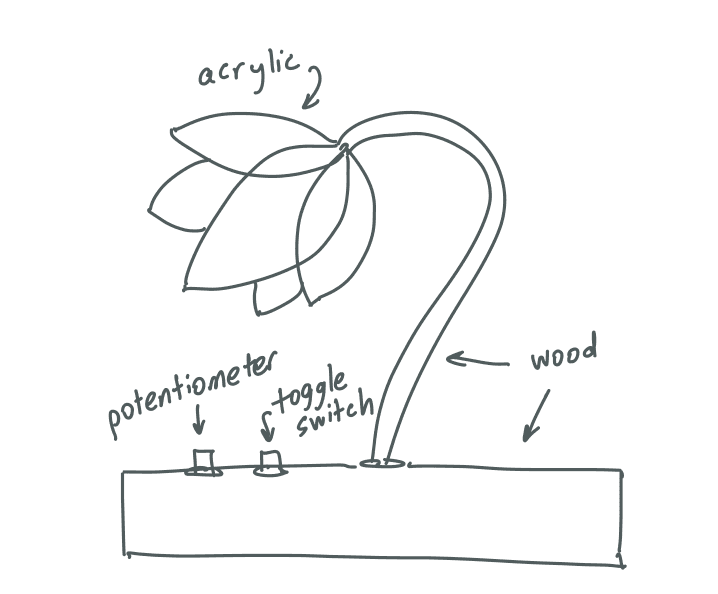
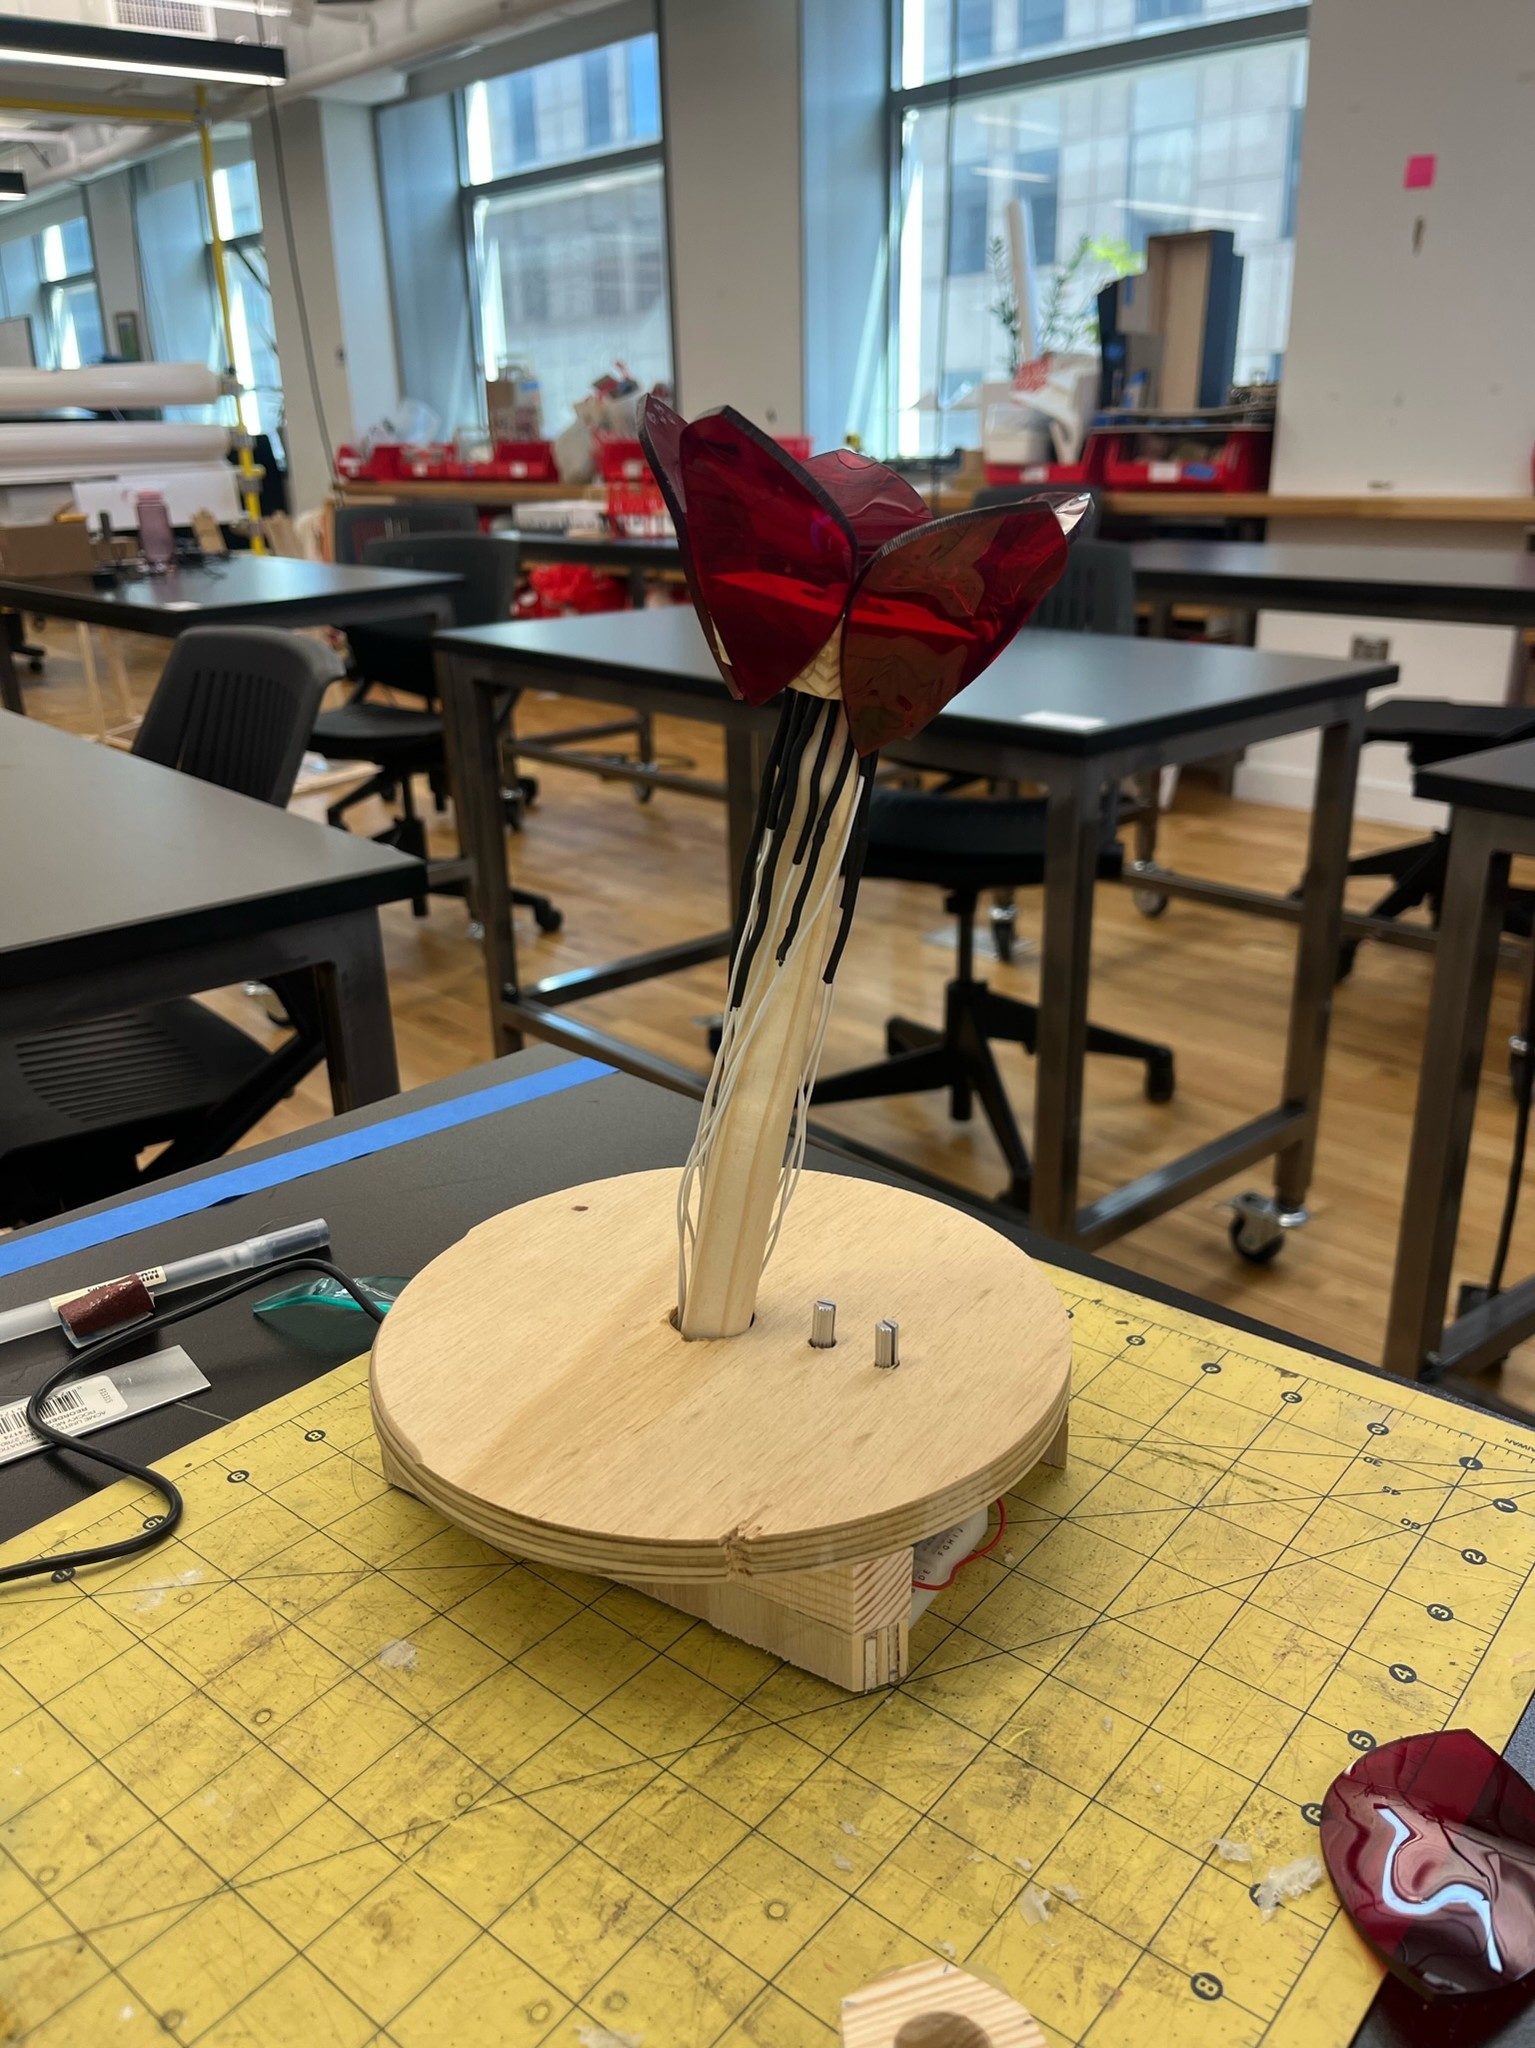
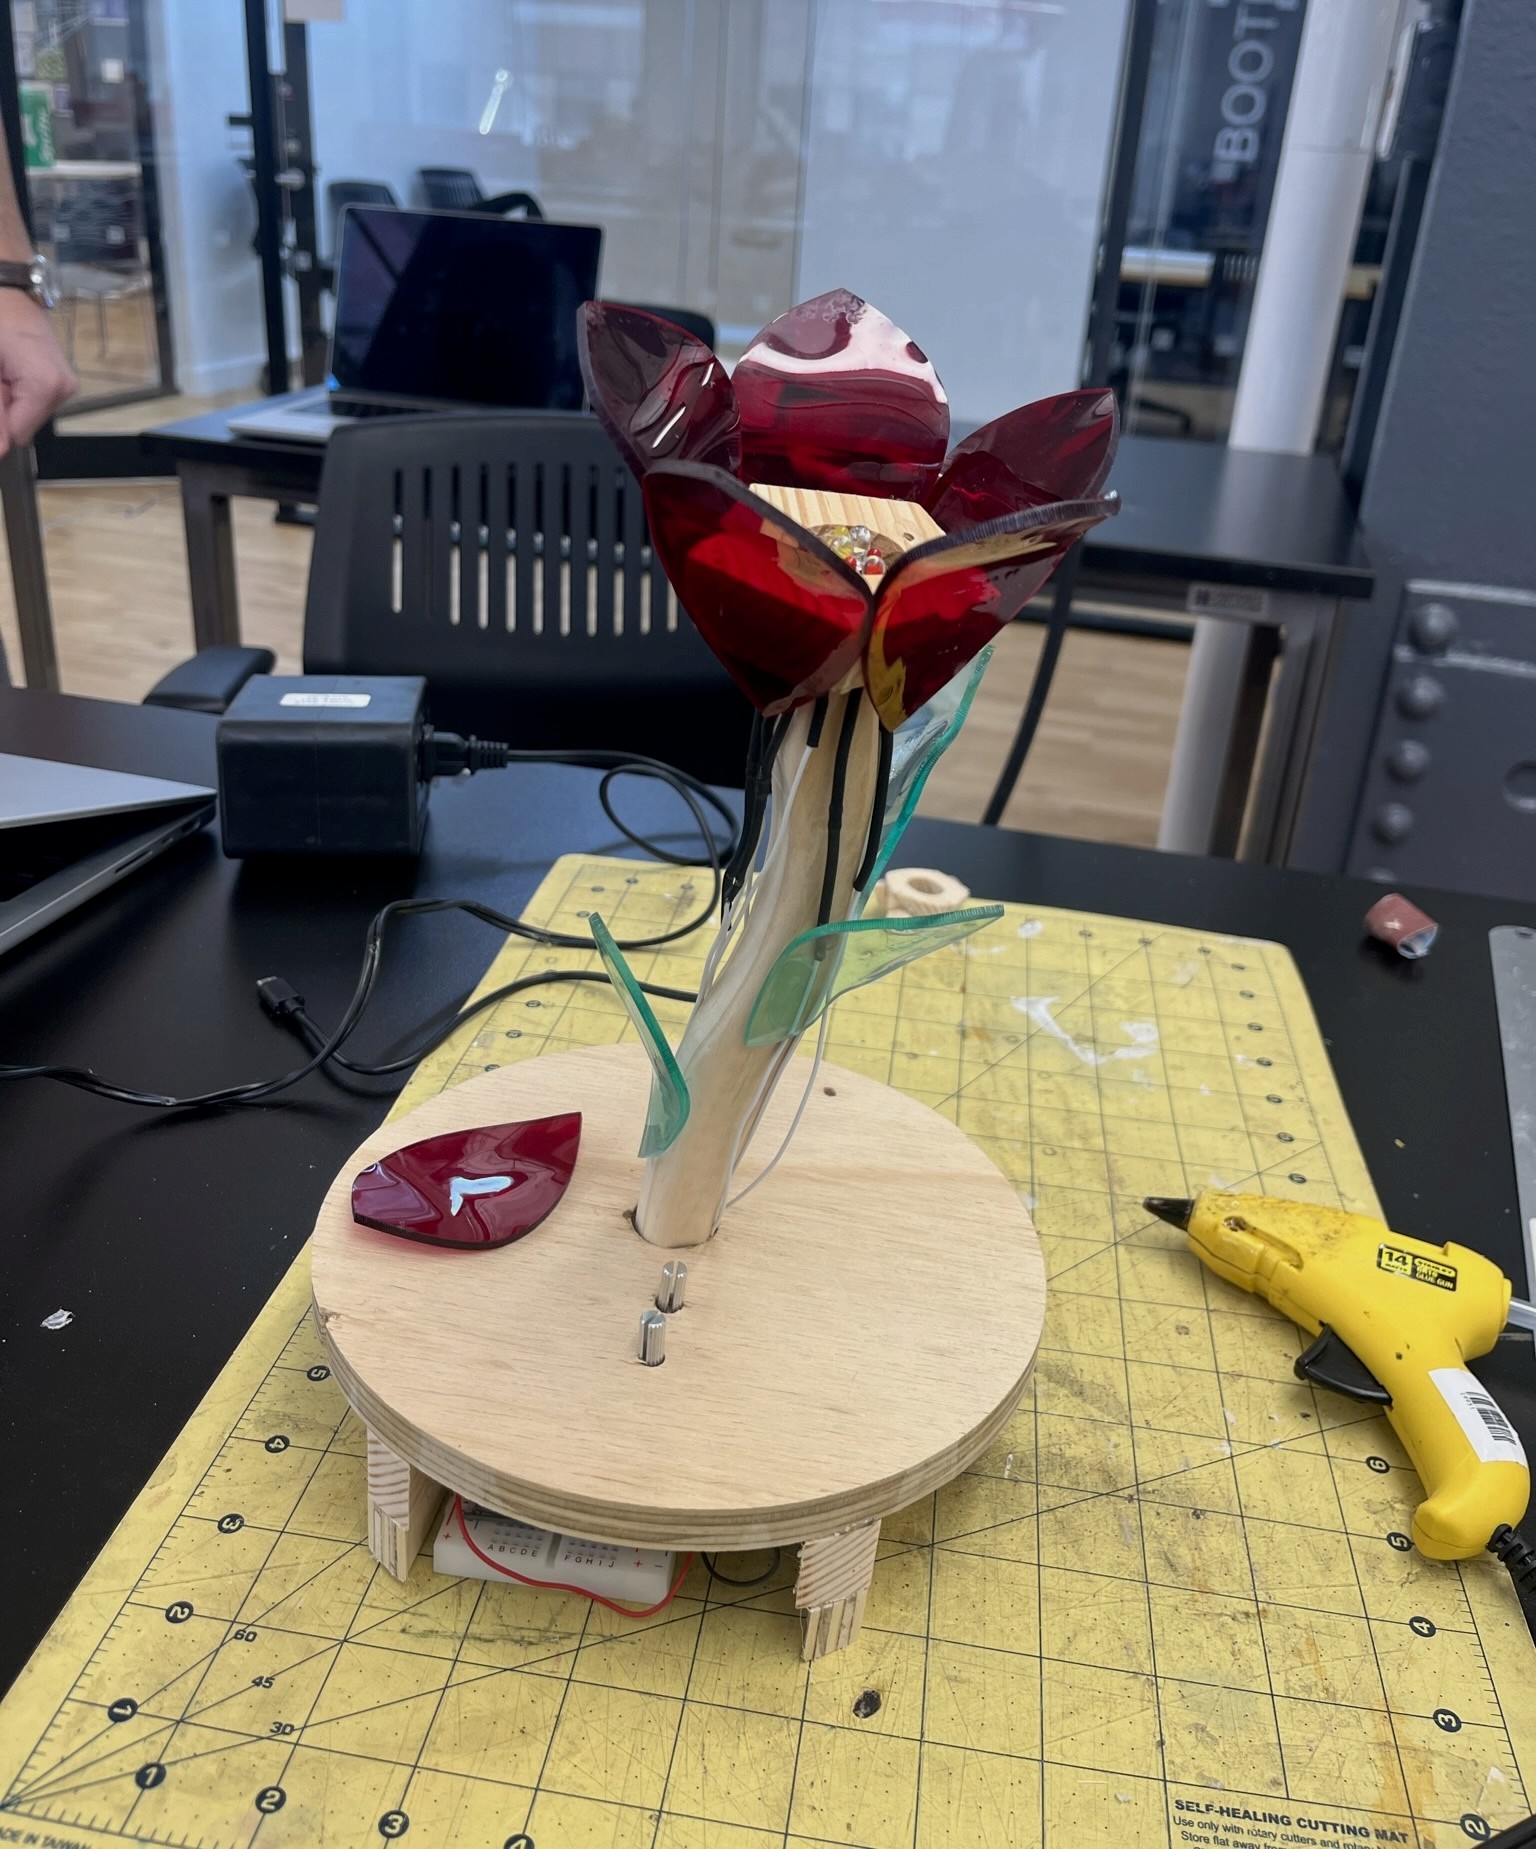
Our idea was to create a lamp that looks like a tulip.
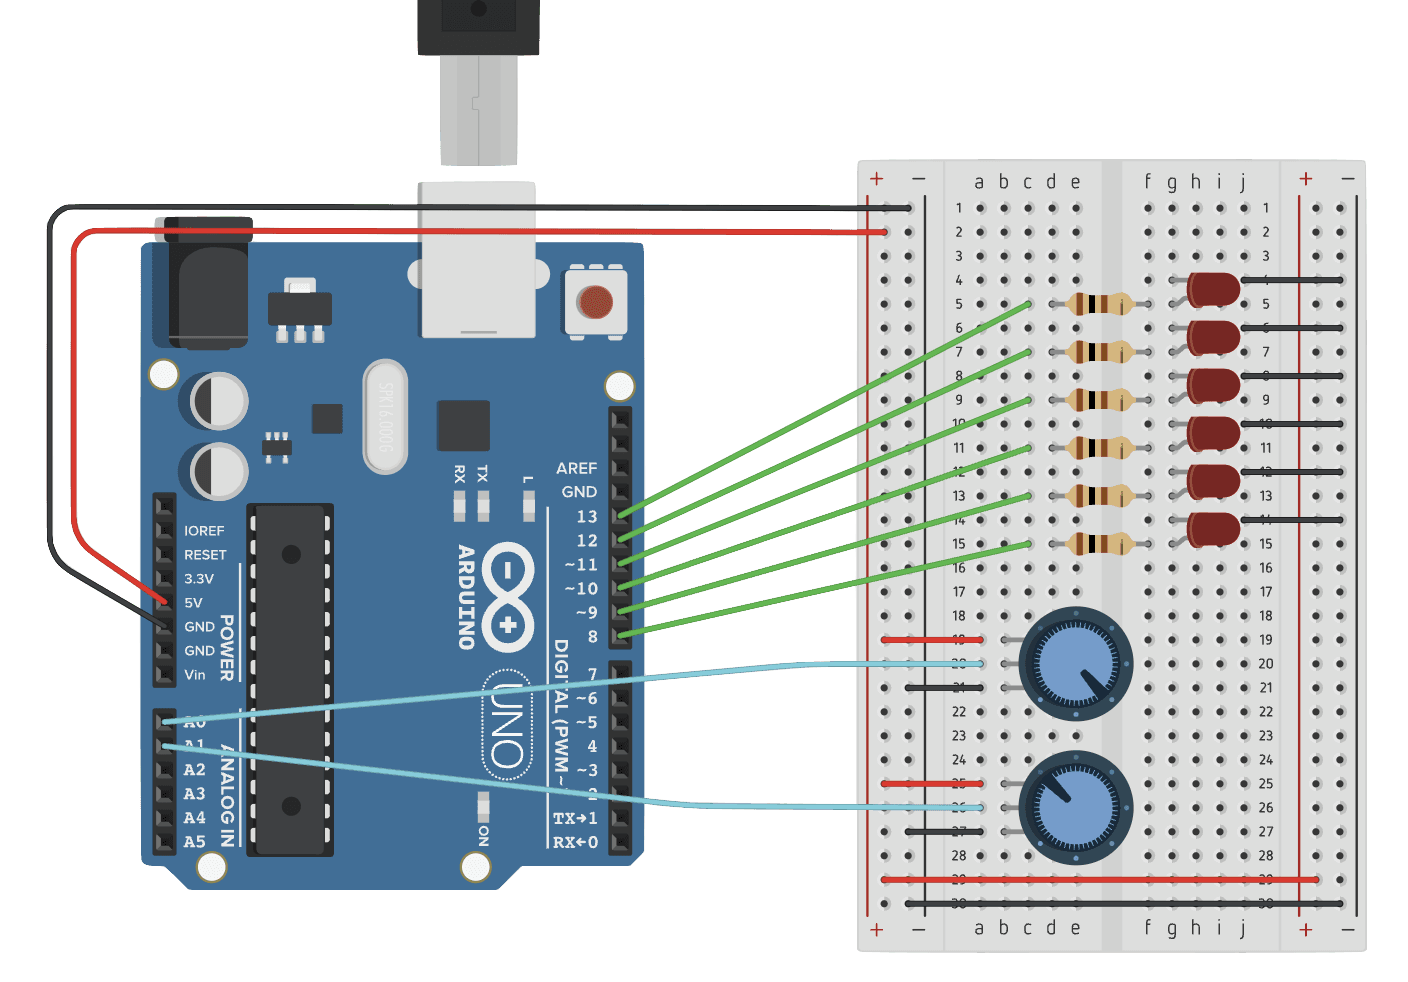
TinkerCAD wiring reference, created by me.
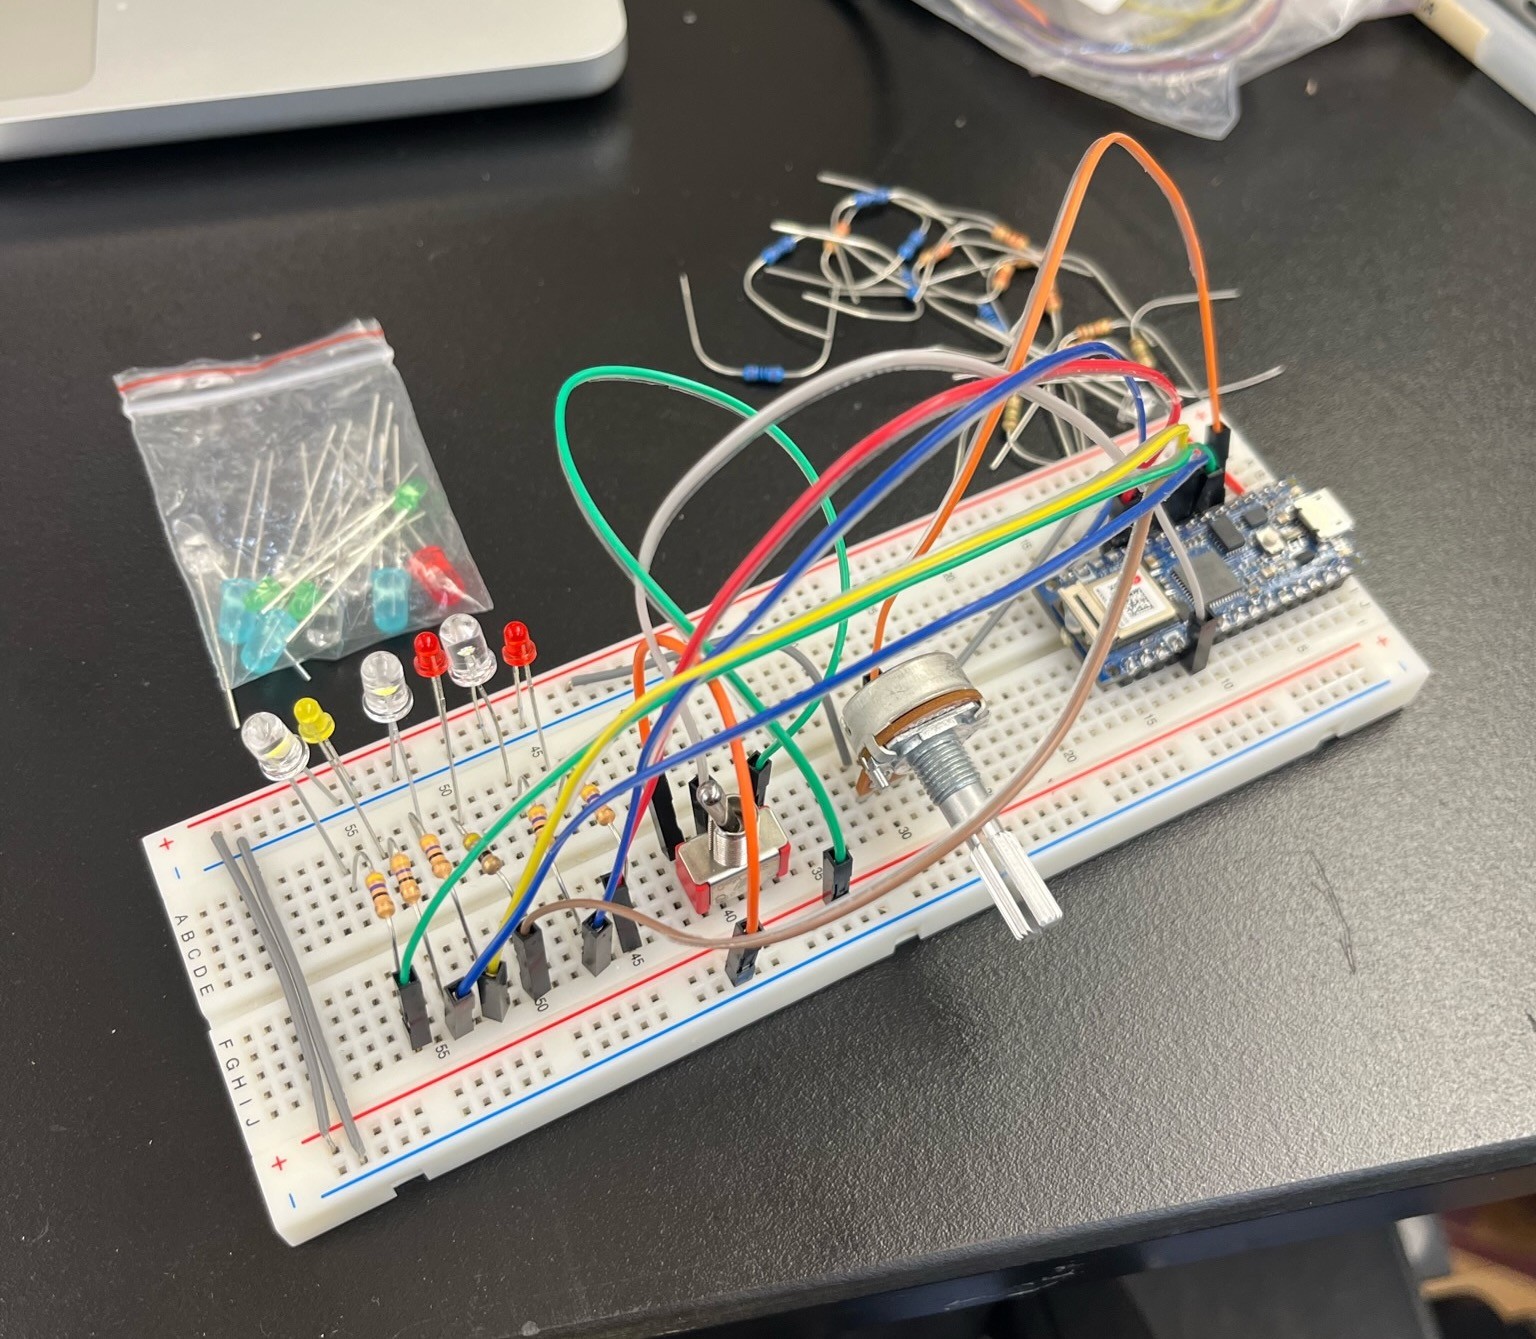
First draft of our wiring, created by Delaney.
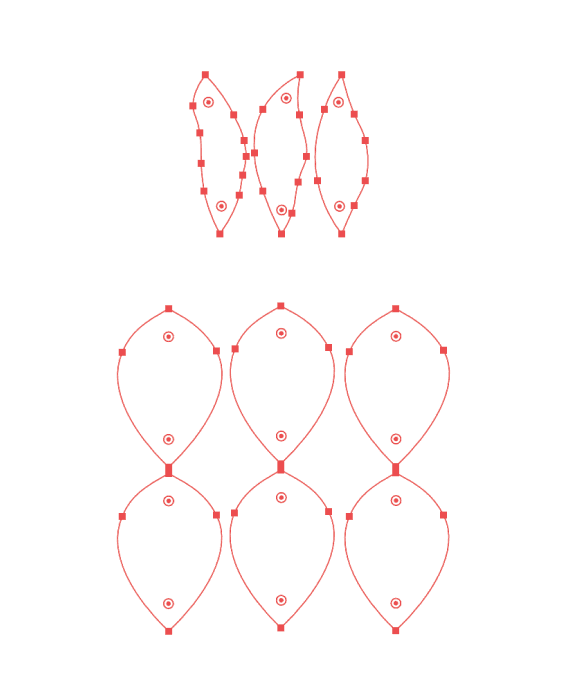
Outlines for laser cutting the petals and leaves, created by me in Illustrator.
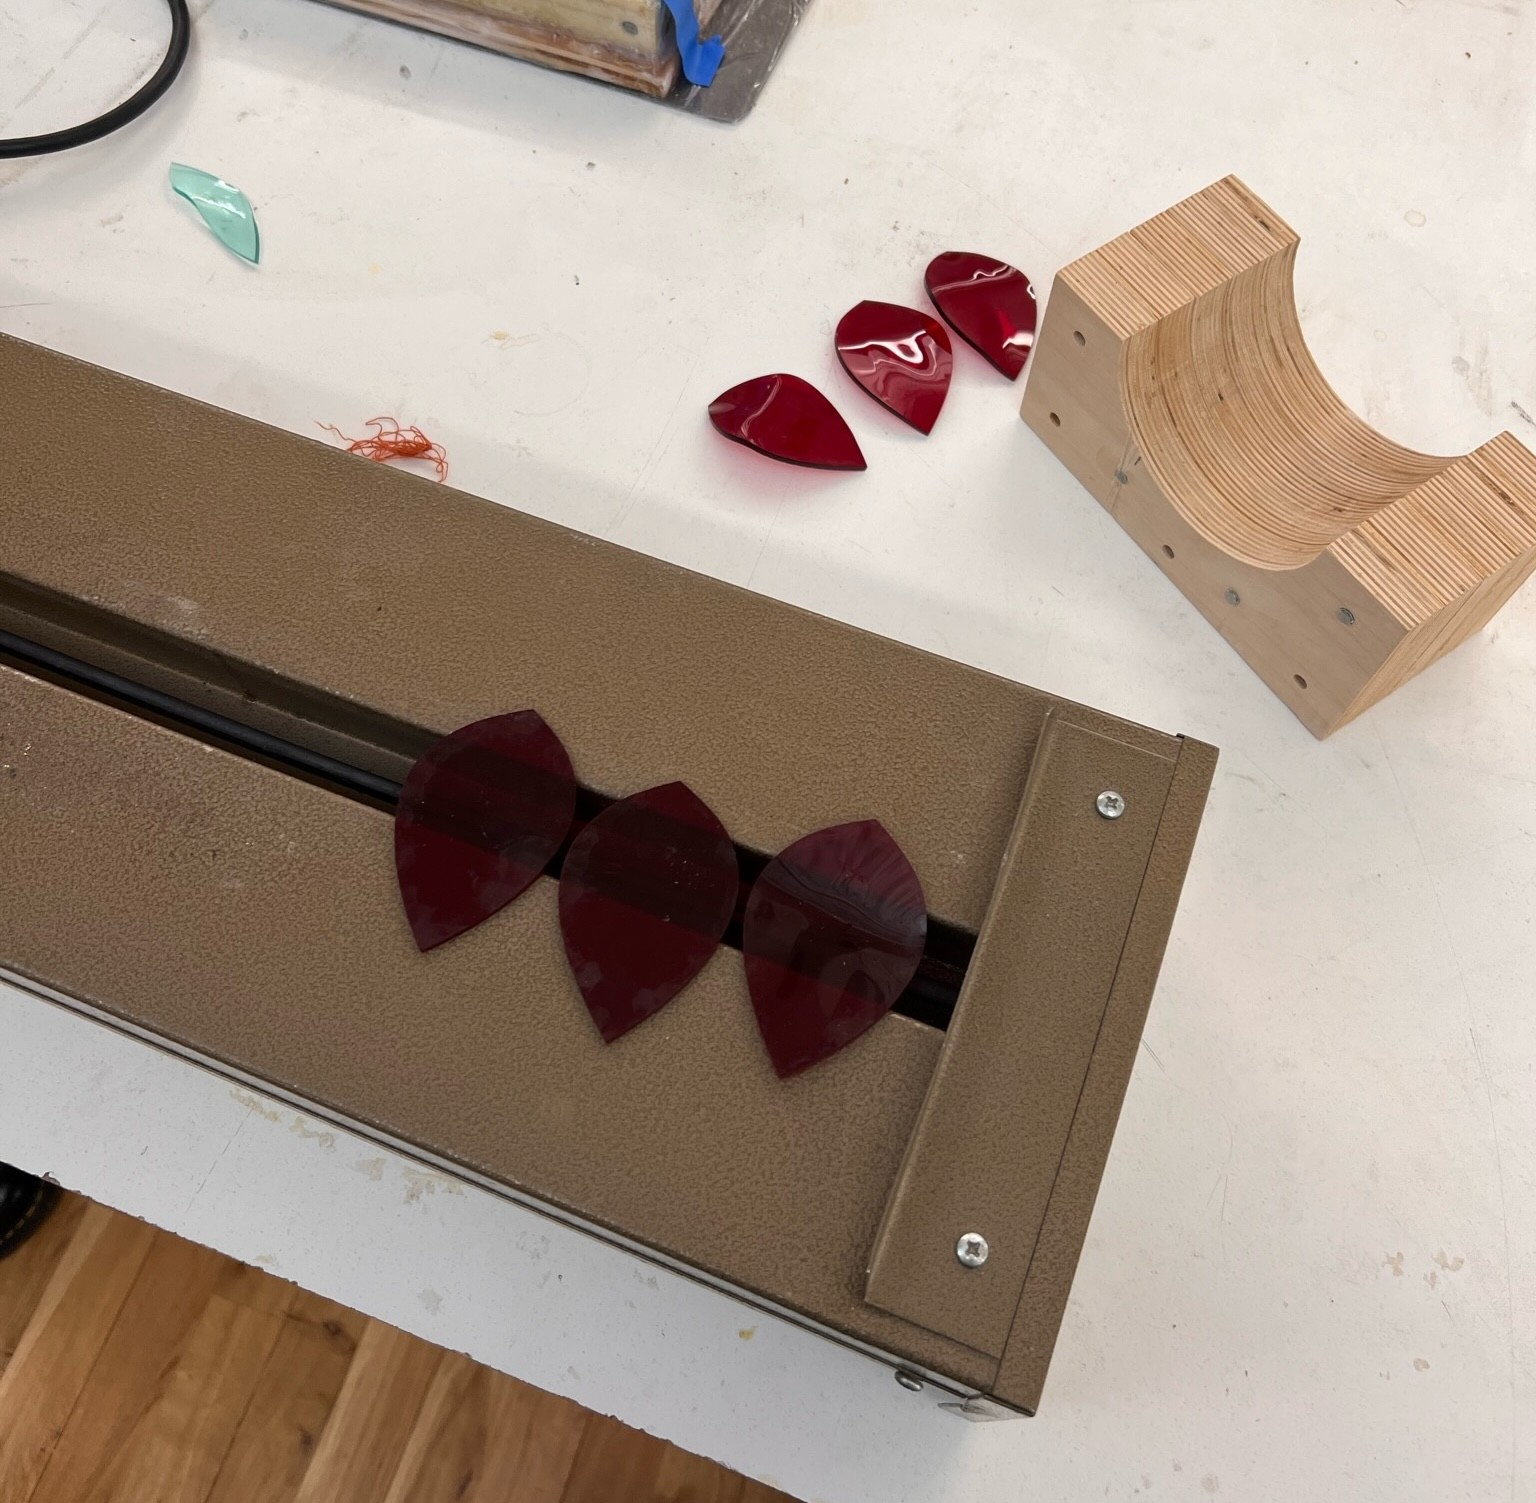
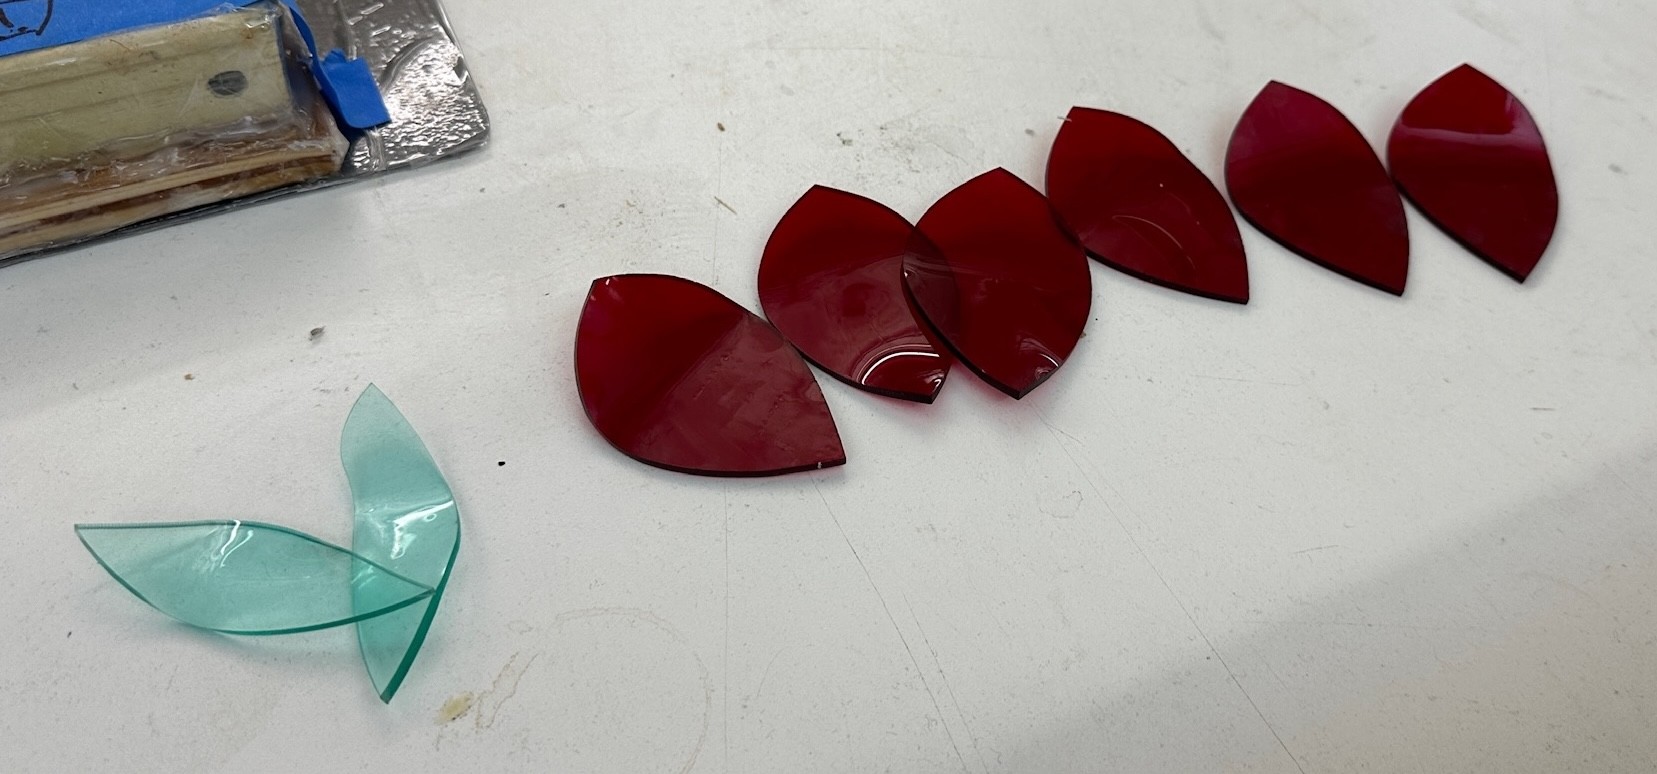
Once laser cut, Dan and I used the acrylic bending machine to heat up the acrylic pieces.
We bent the red petals to flare out at the tips. We bent the green leaves to be more curved vertically.
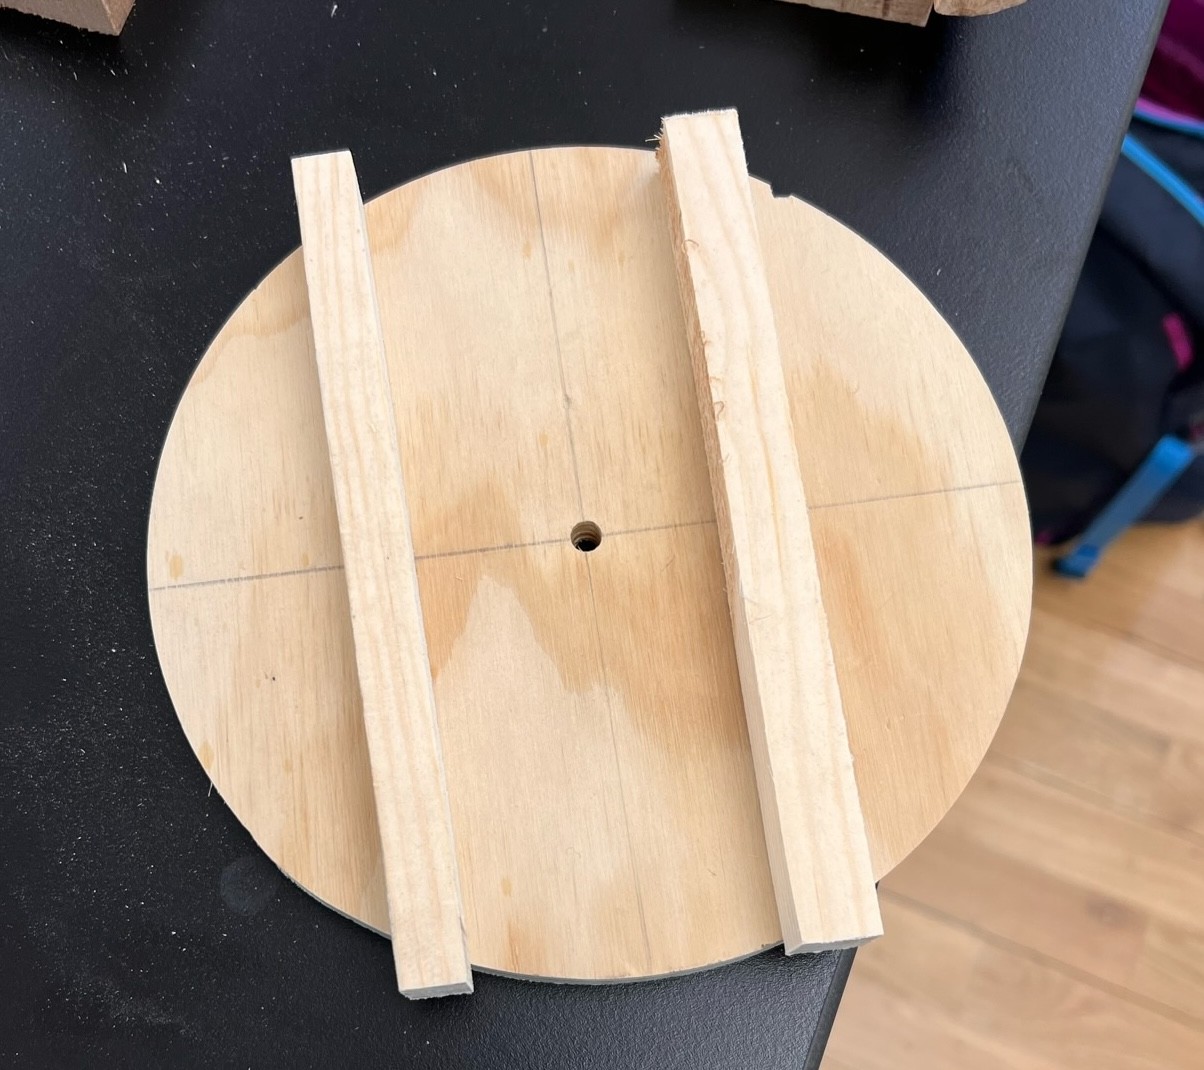
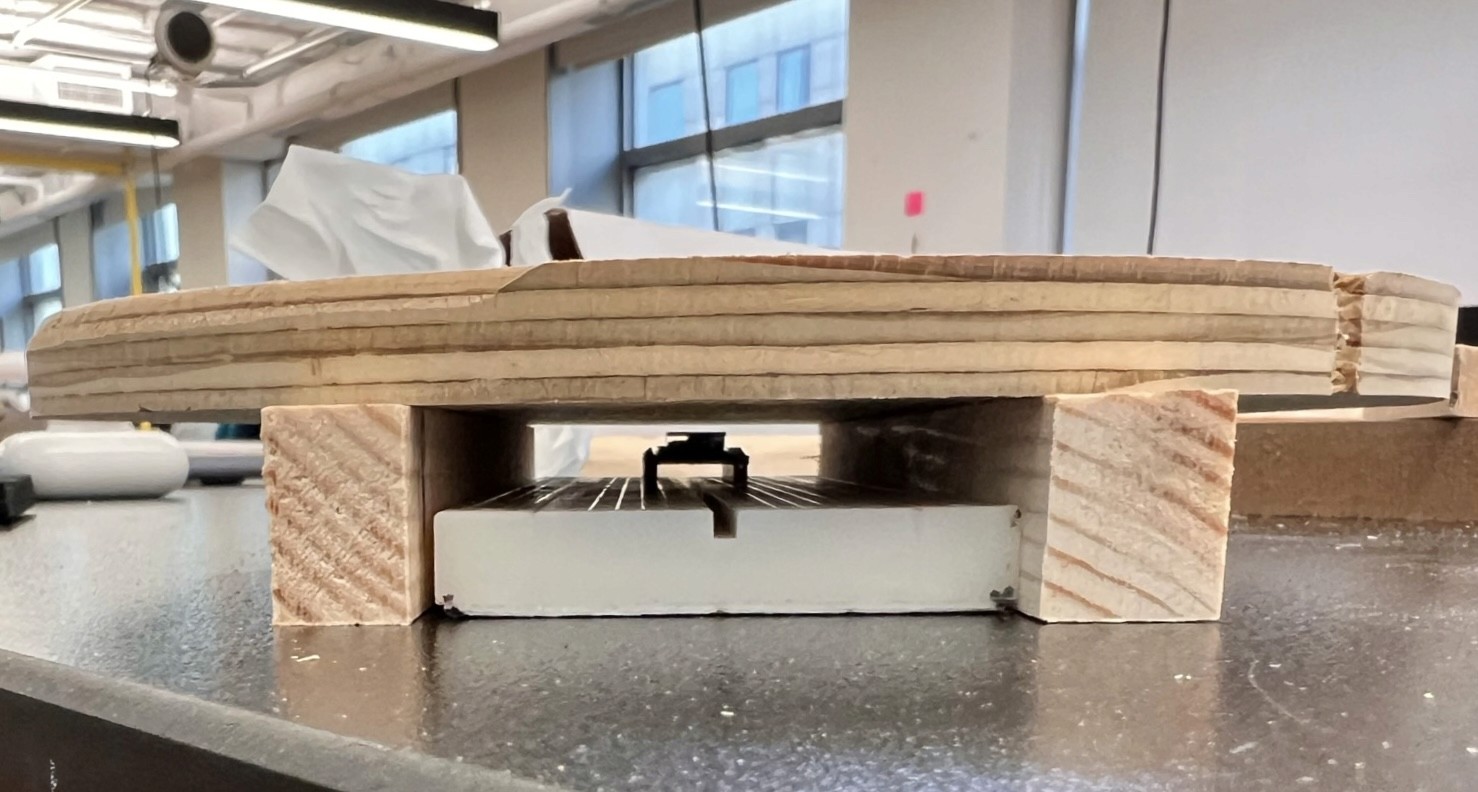
Dan created the base…
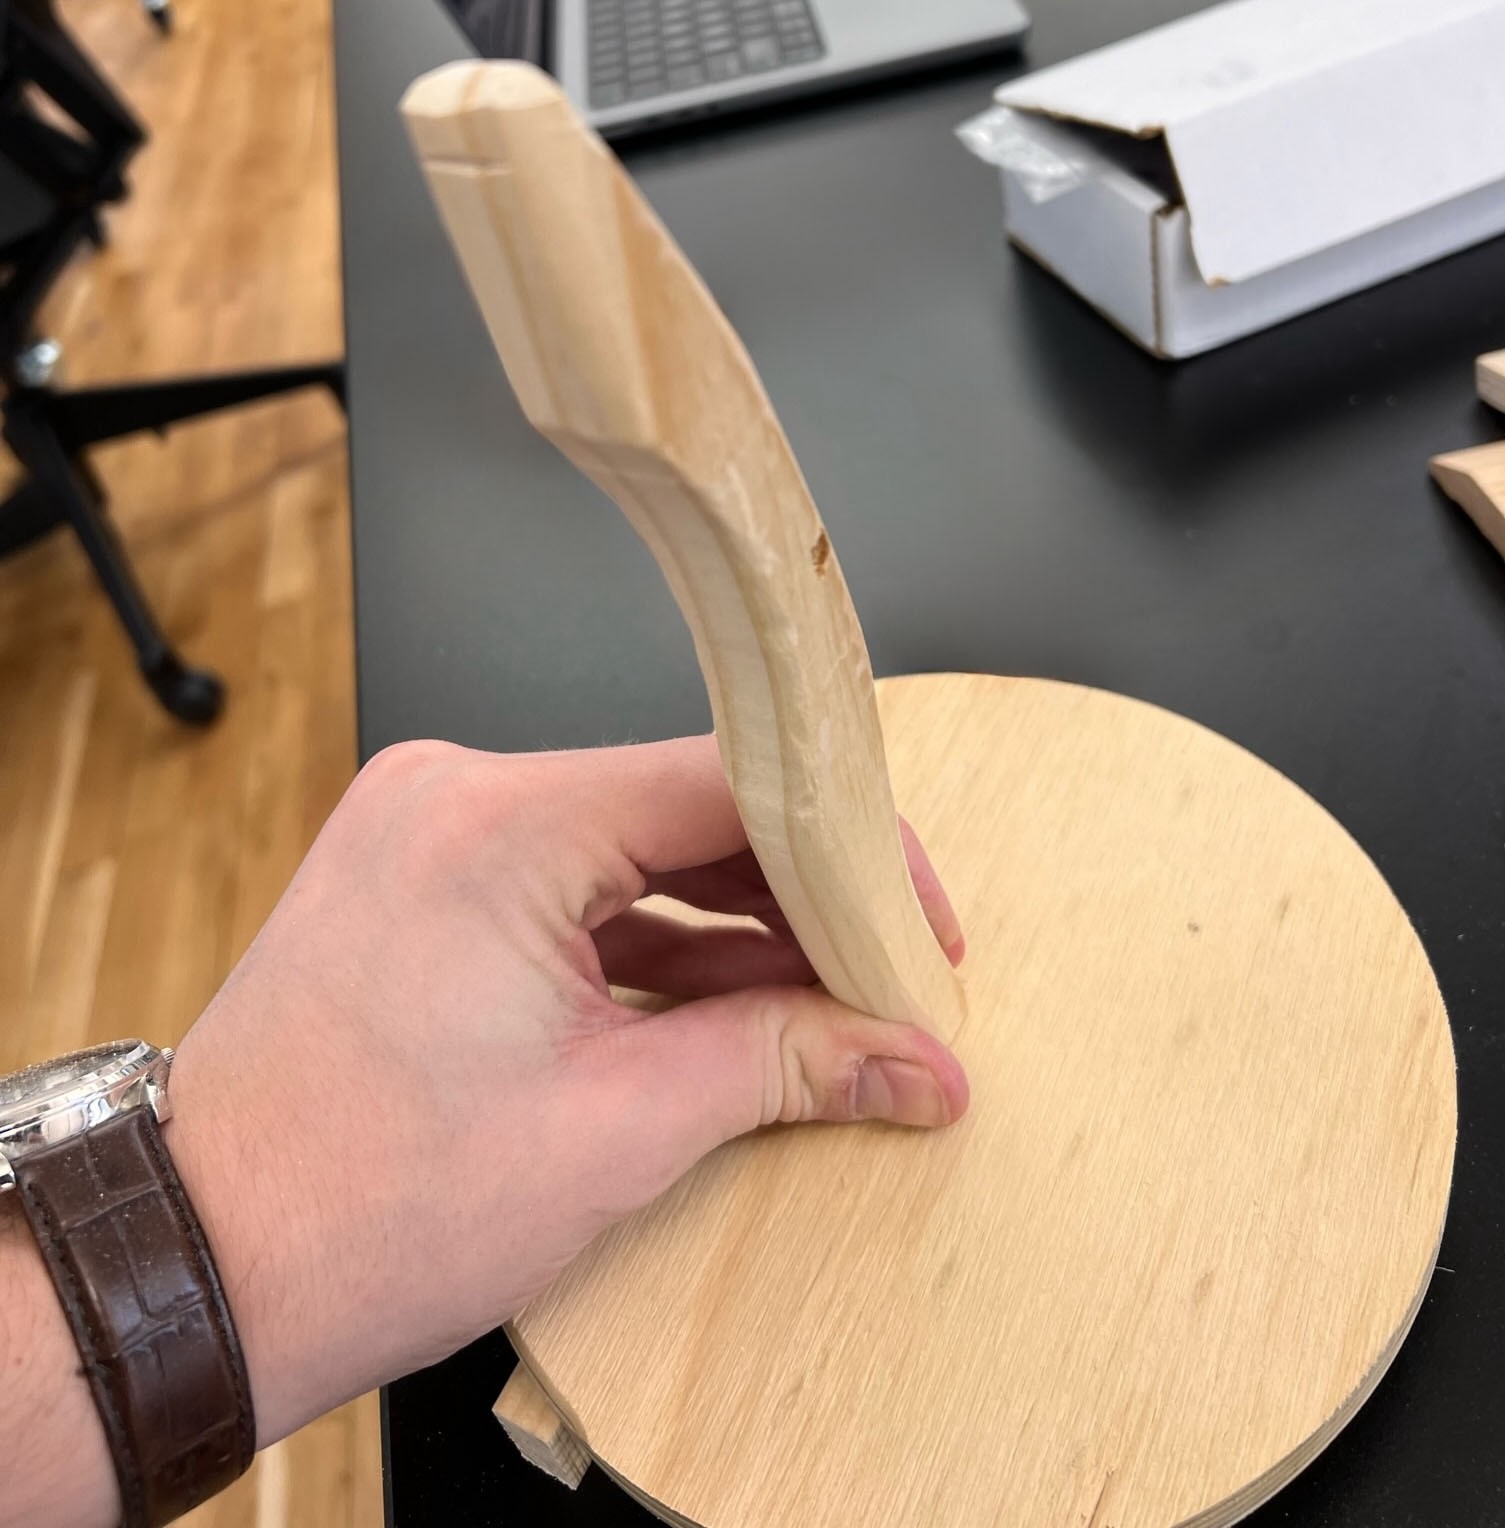
…and the stem of the lamp using a bandsaw and sander.
The base would hold and hide the breadboard.
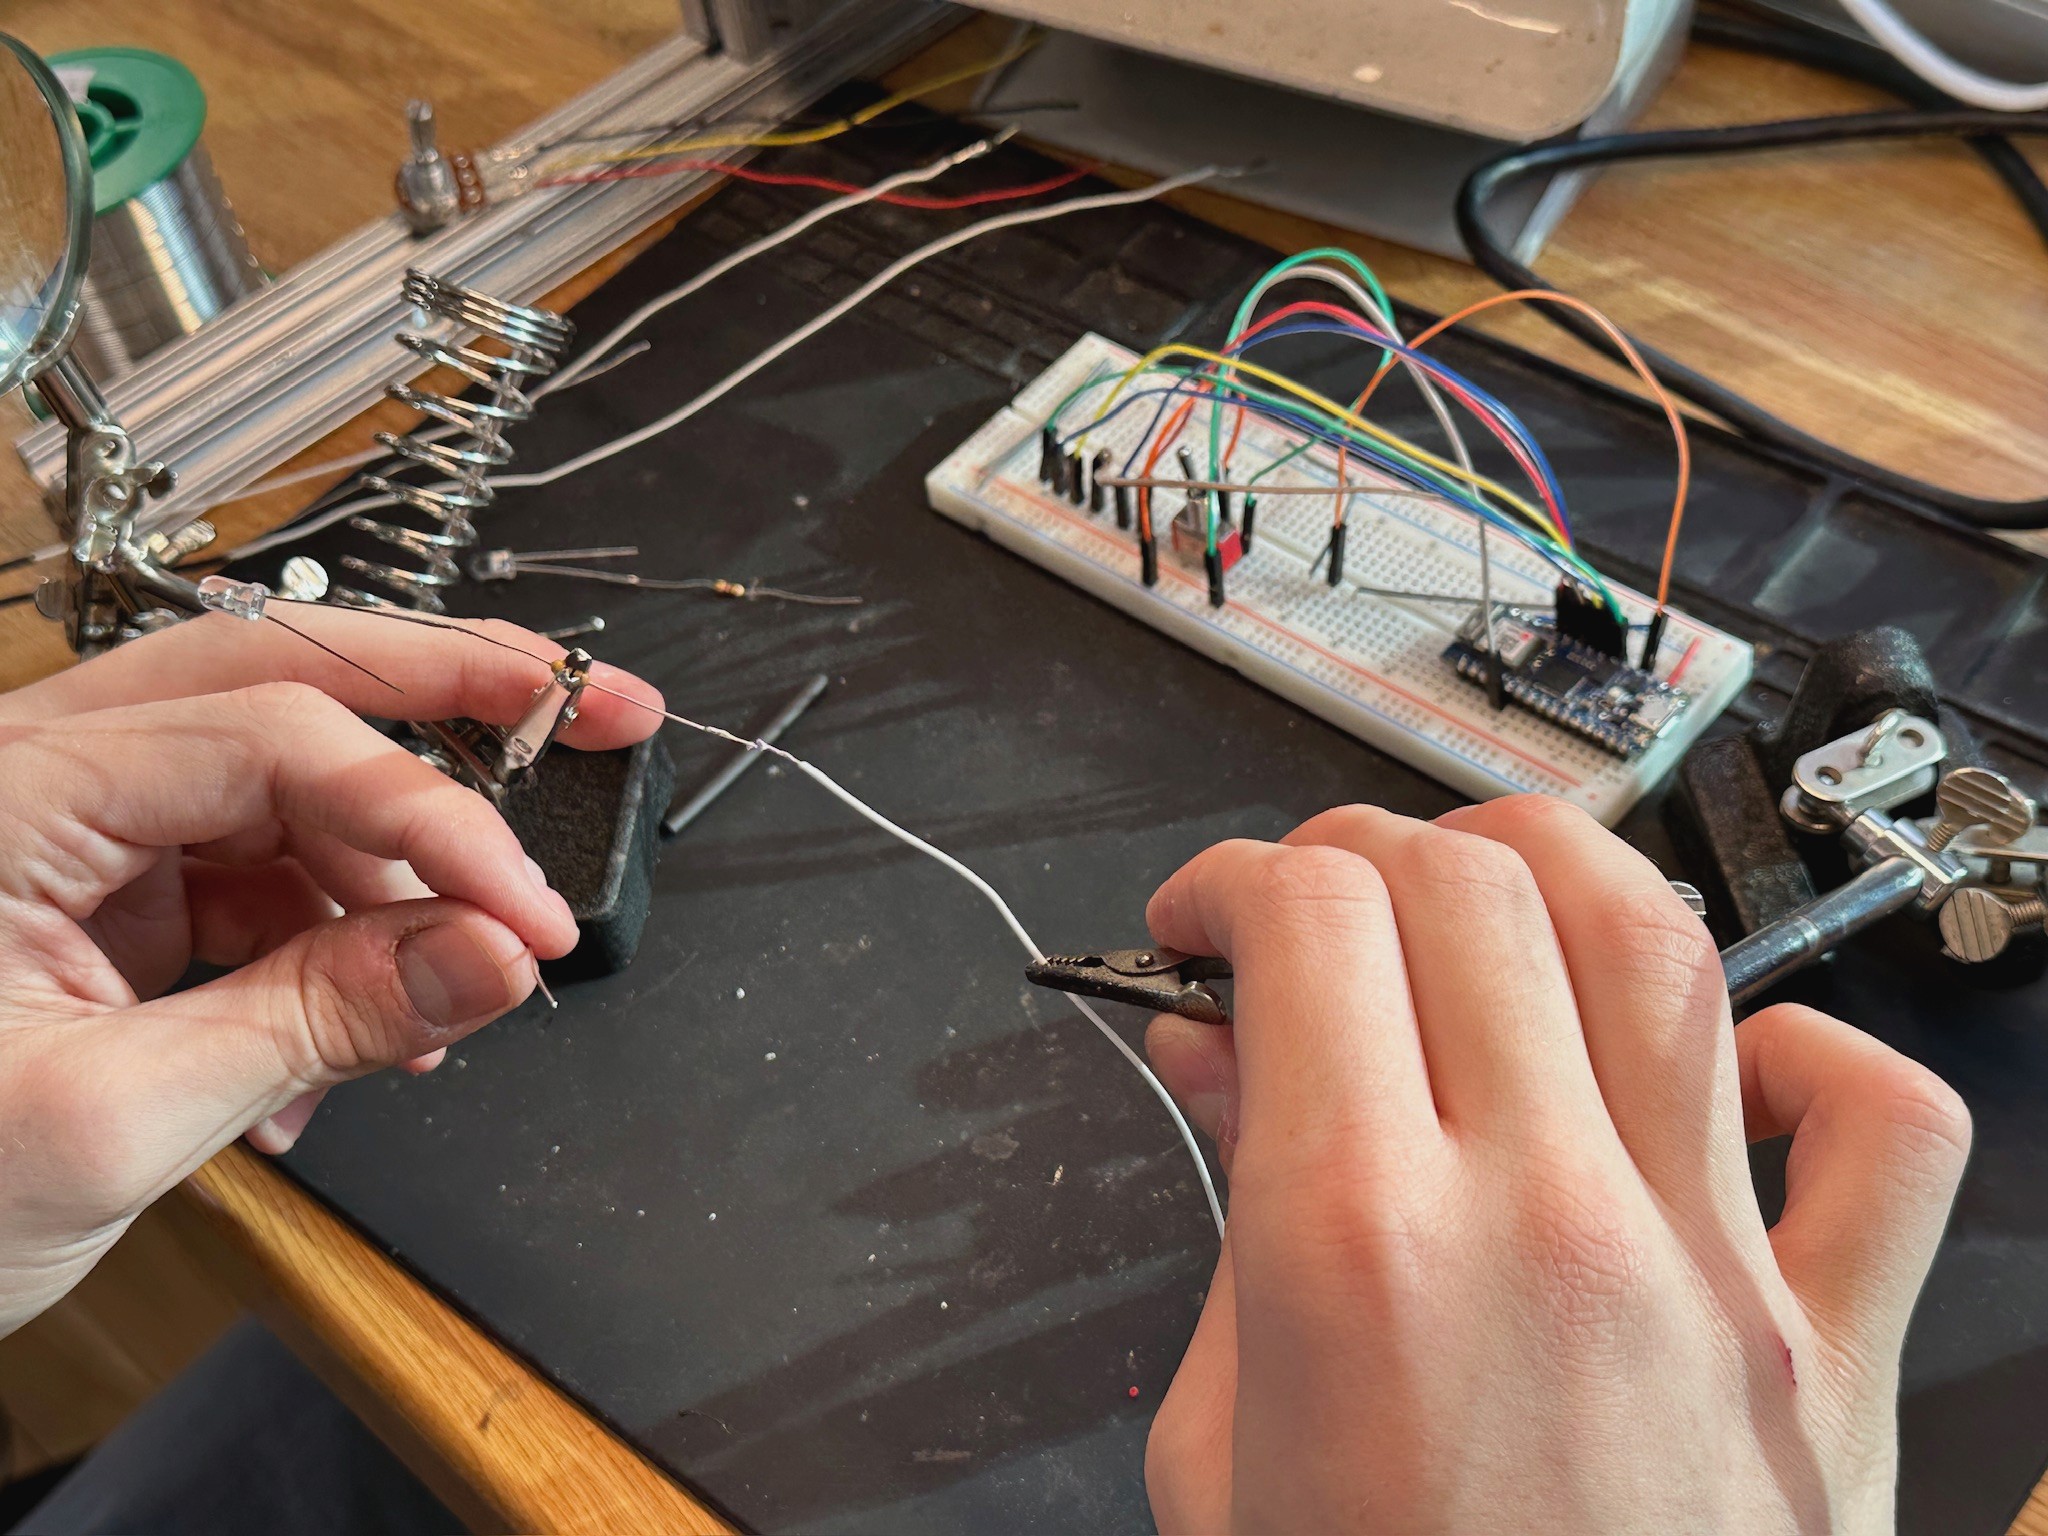
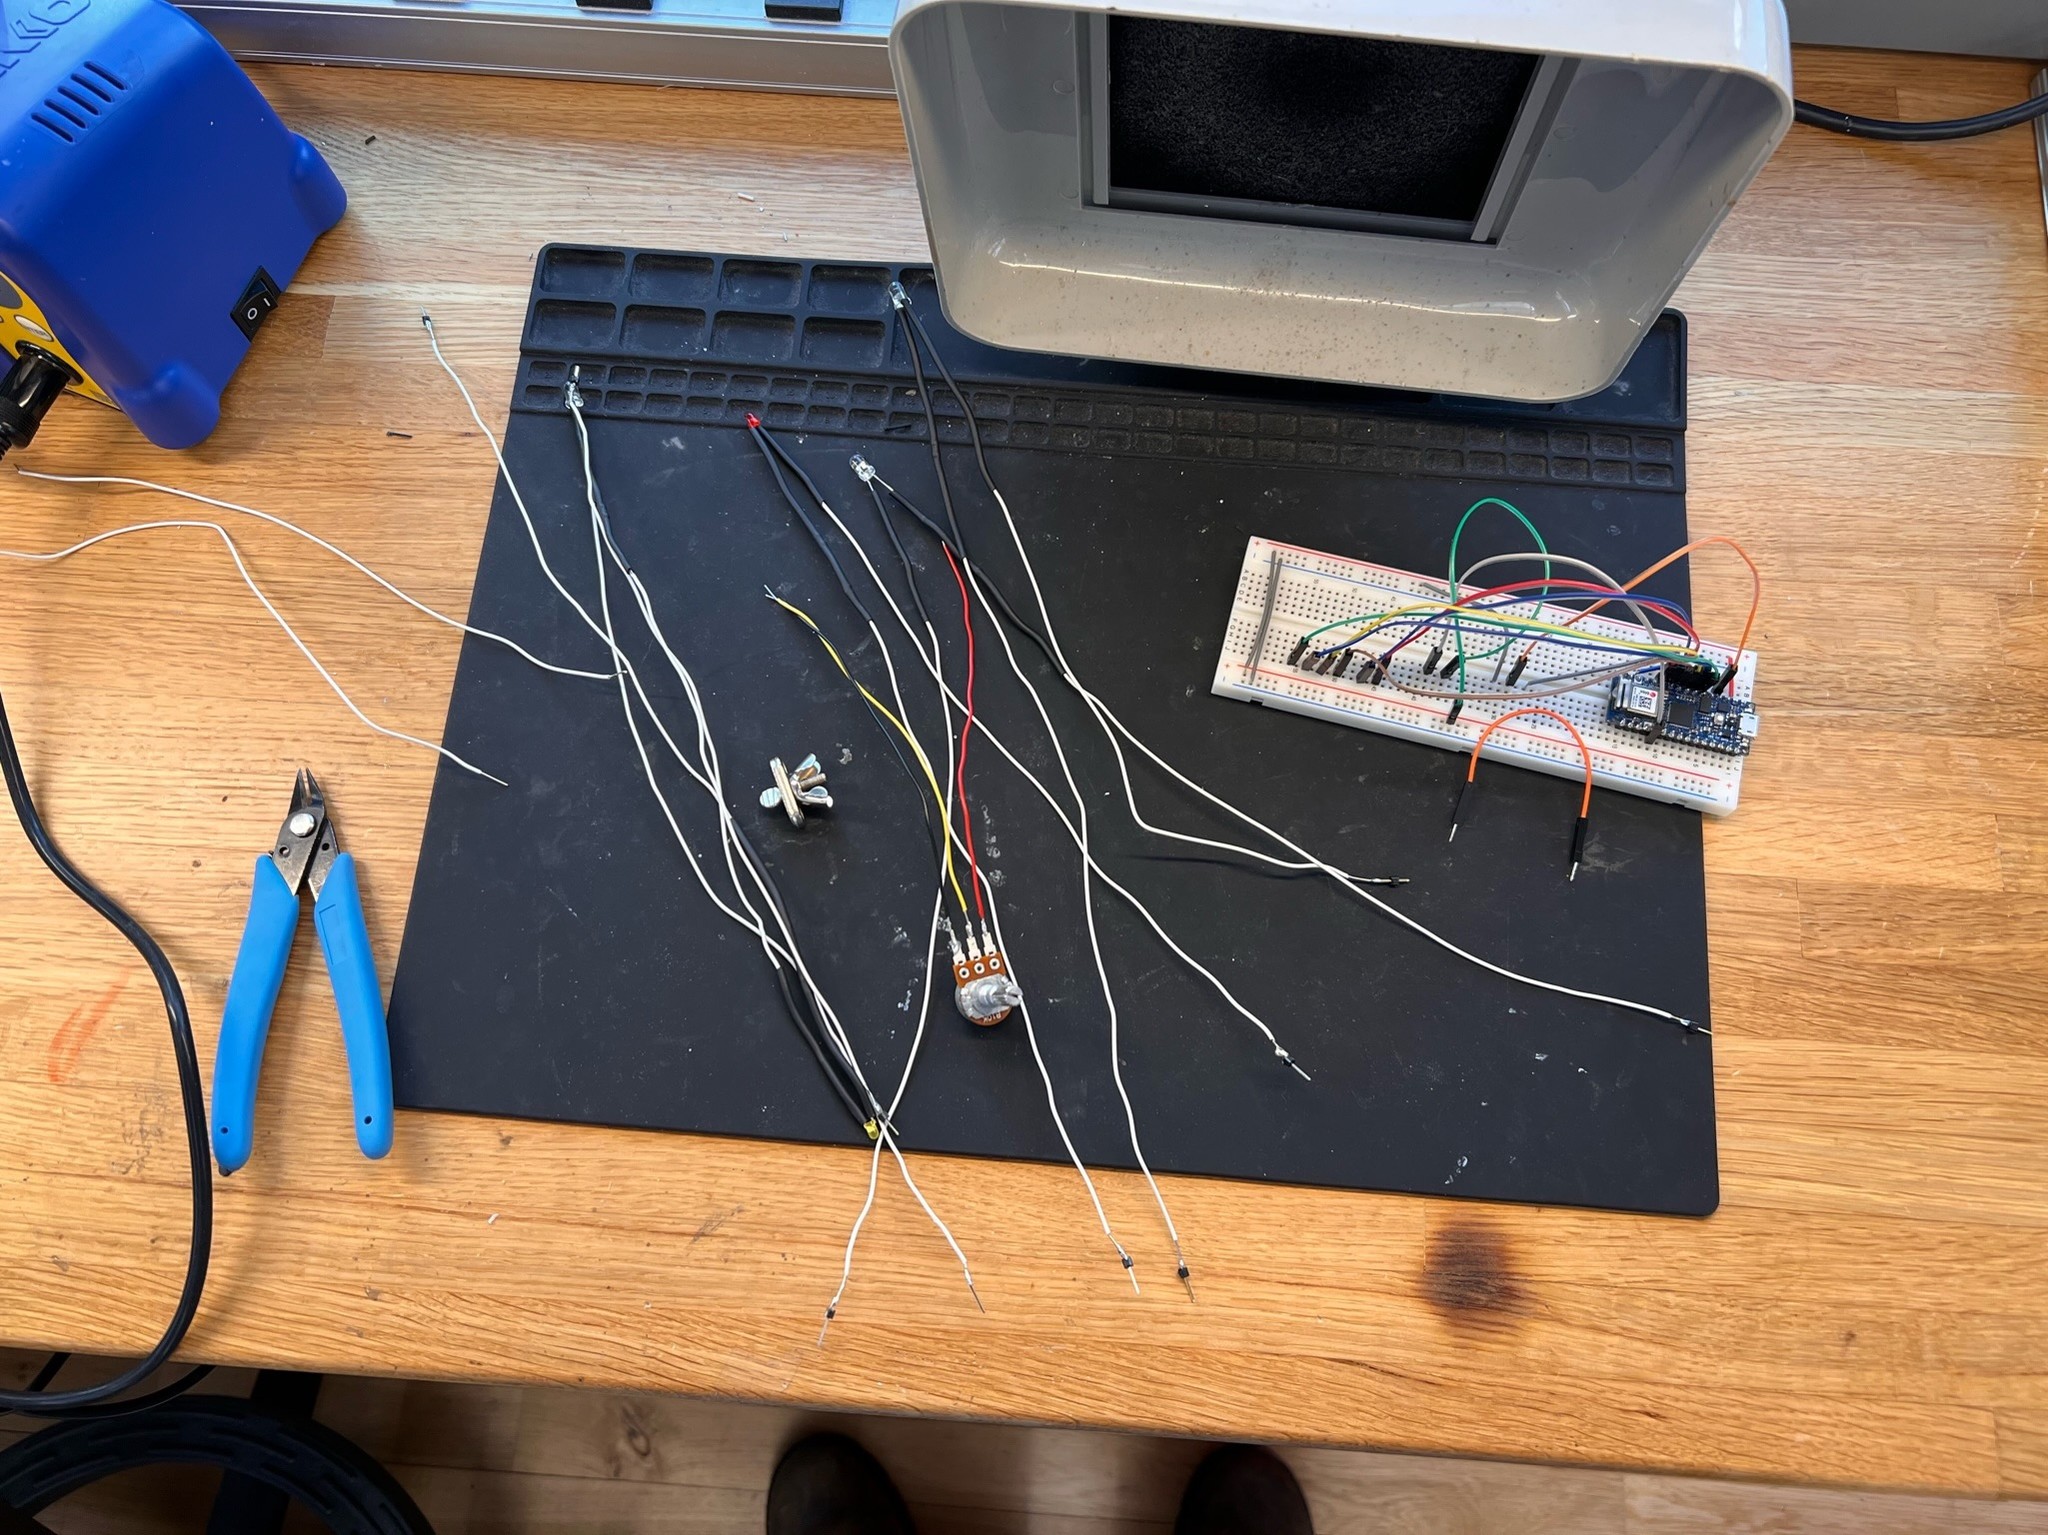
Then we joined Delaney who was soldering the LEDs, resistors, and pins to longer wires.
The longer wires would allow us to connect the LEDs to the top of the stem, whilst being able to plug them into the breadboard.
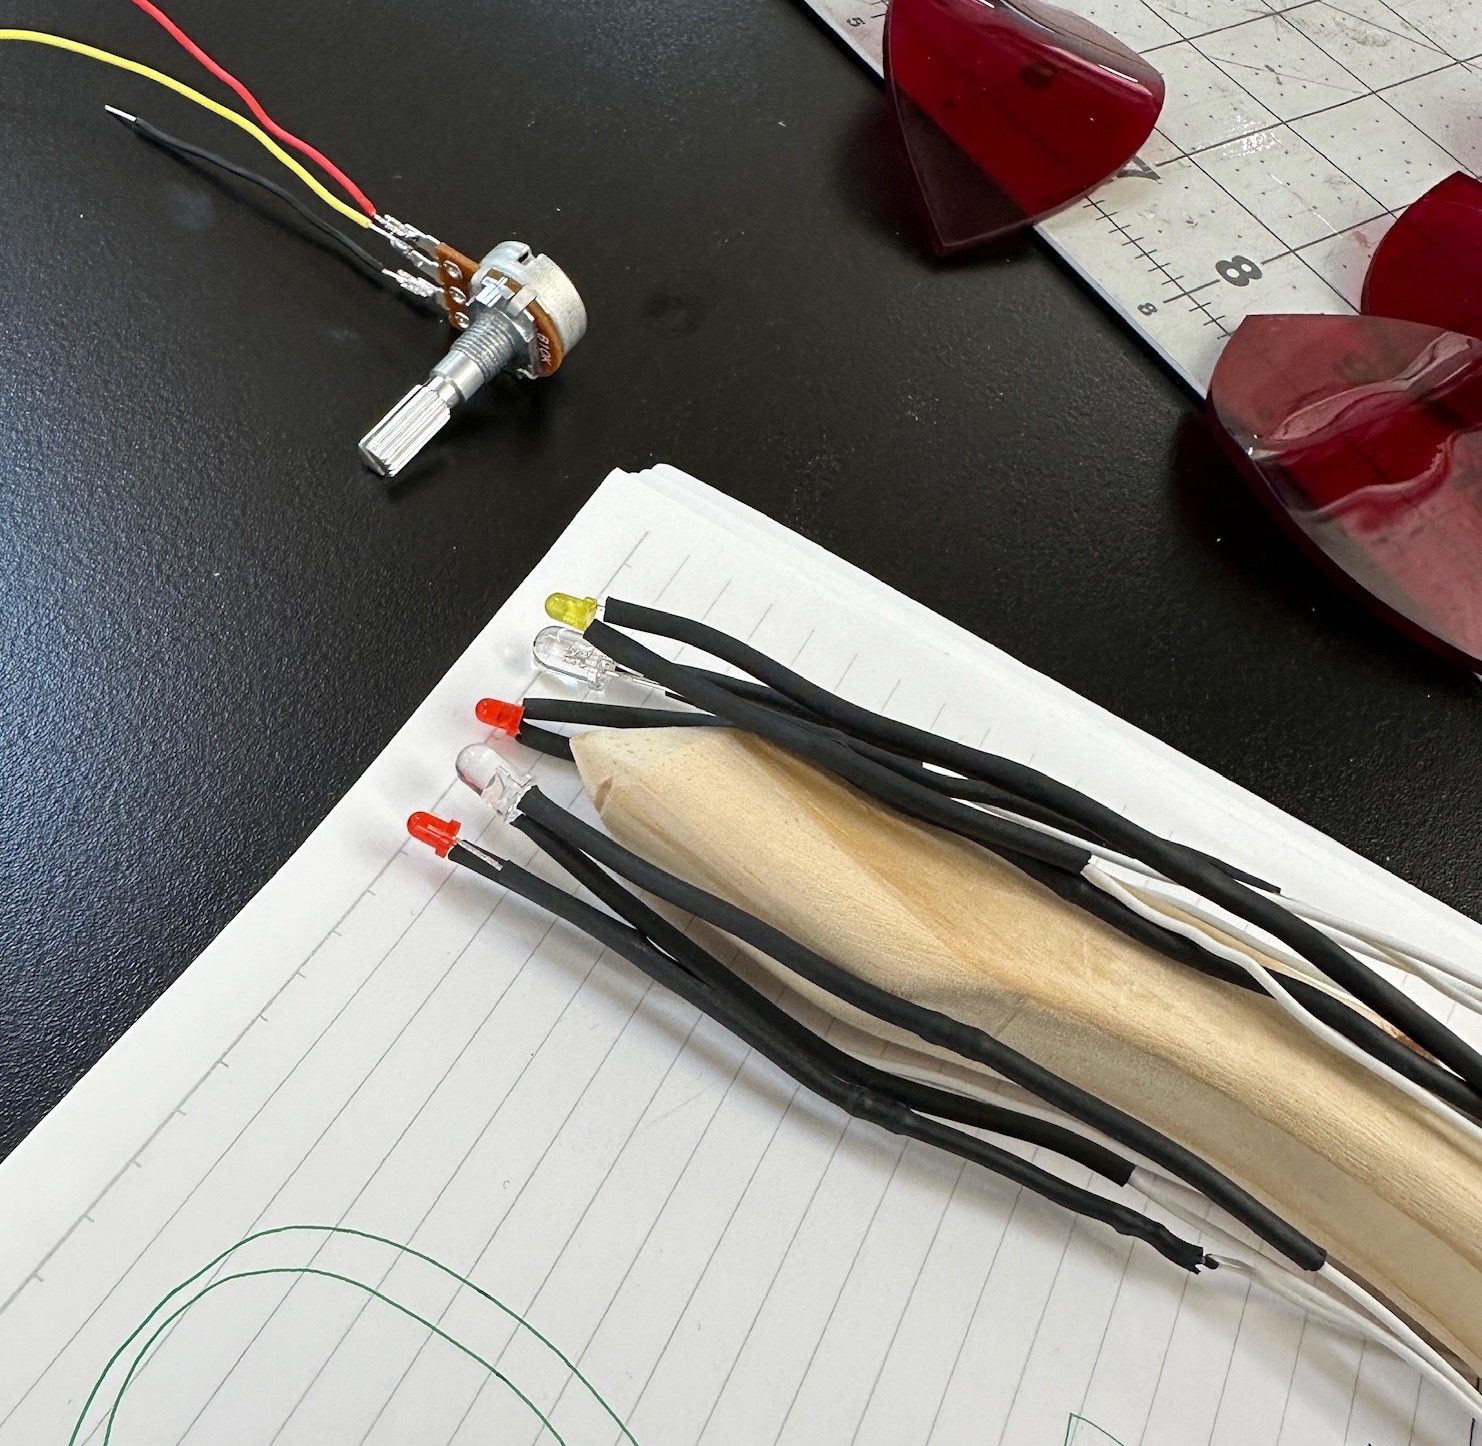
Black tubing is shrink wrapped around the resistor and toward the tops of the wires to hide the soldering for a cleaner look.
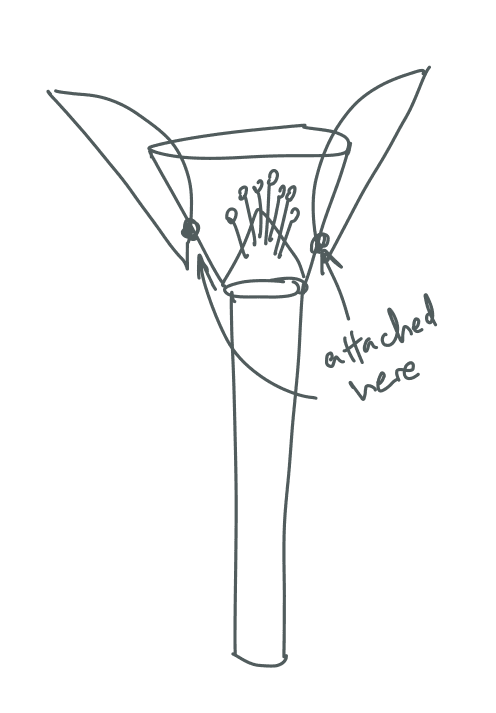
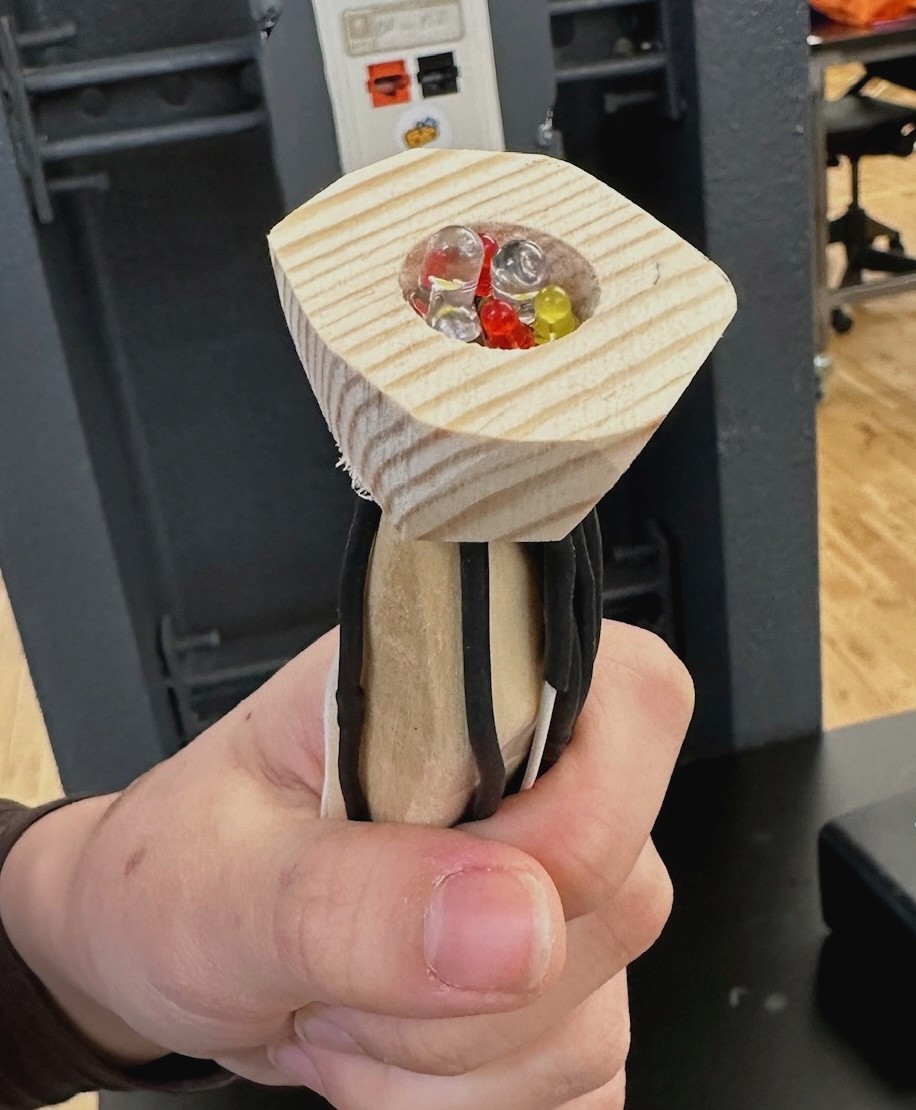
To fasten the petals to the lamp, I brainstormed this wooden cone shape that could wrap around the LEDs and wires. The petals would be glued to the outside.
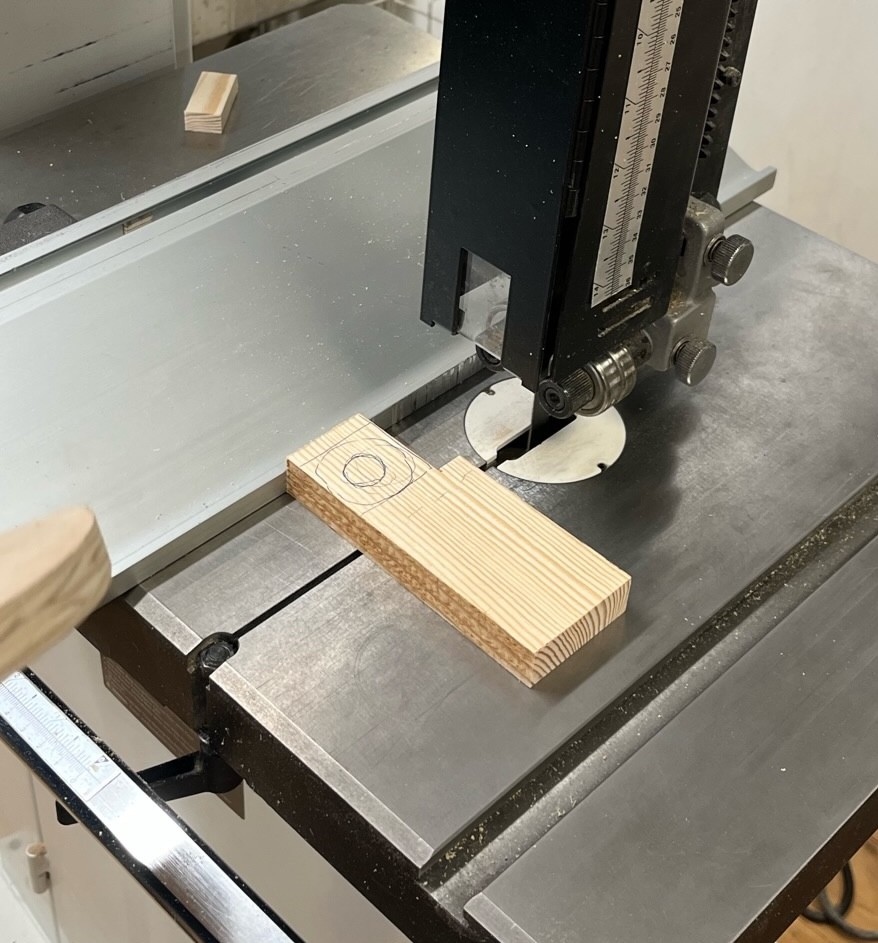
Delaney and I created this by initially cutting out a square using the bandsaw, then sanding the edges to create sides with an angled height.
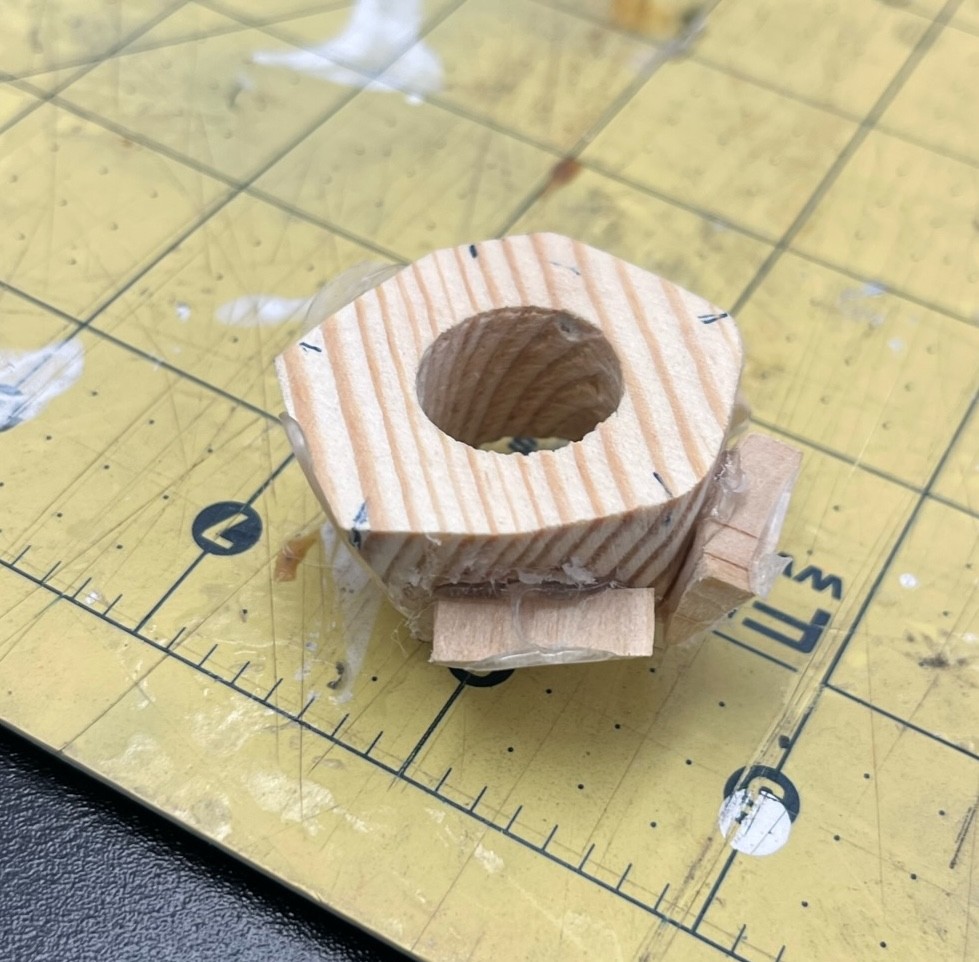
I used the drill press to cut a hole out of the center to fit over the stem and wires. This was the result.
After trying to fasten the petals to the sides, I realized that the wooden “cone” was too small. I glued scrap pieces of wood to the sides to expand the shape, but it ultimately looked messy.
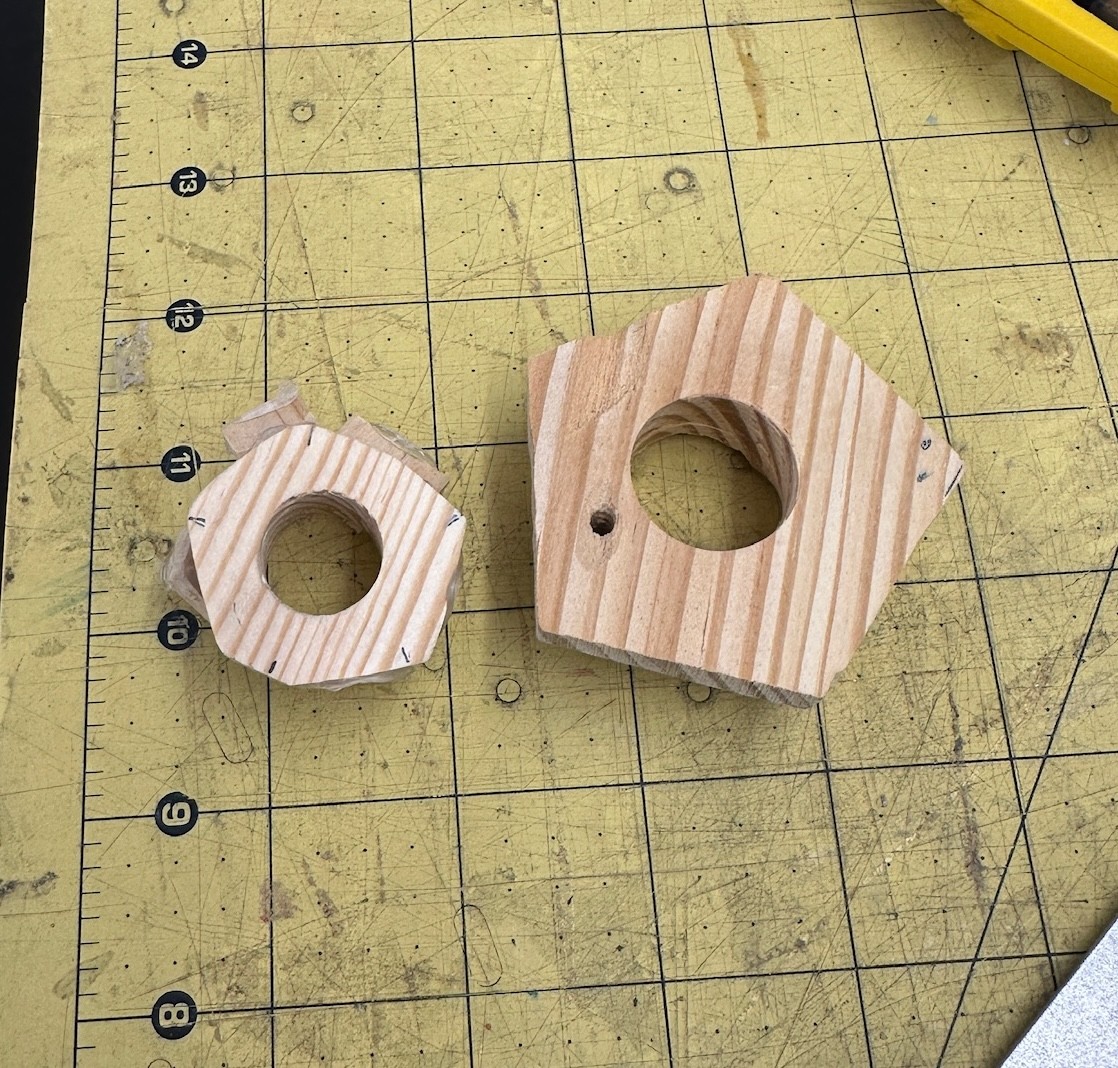
The next day, I decided to try the cone idea again. This time I measured the width of the petals (1.5 inches) and drew a pentagon on the wood with sides that are 1.5 inches each. I used the bandsaw to cut out the wood, the drill press to cut out a hole, and the sander to angle the height of each side. The result looked much better (right side).
Dan drilled holes in the base for the potentiometer and toggle switch to come through. And Delaney attached the LEDs to the top of the stem using hot glue and connected the wires to the bread board.
In the process of connecting the wires, we decided to switch from toggle switch to potentiometer for the on and off function because it was more stable.
Lastly, we affixed the acrylic petals and leaves onto the lamp.
